How Genovo handles client specific content
Simon Large
 |
IMPORTANT – This user tip relates to an older version of Genovo. Although much of the content and many of the concepts still apply to the current version of Genovo, the screenshots and some instructions may no longer be accurate. |
In this month’s User Tip blog, I’m going to walk you through how Genovo handles inputting client specific content. We’ll look at the two ways that you can add the ‘colour and detail’ that the FCA want to see in your suitability reports and what the differences between these input methods are.
If you’ve spent any time in Genovo, you’re no doubt aware that there are specific areas where you can include further details about the client and the reasoning behind the recommendations. It’s these areas which will elevate your suitability report from being a box ticking exercise to a useful asset to your client. There are two types of text boxes in Genovo – the Freetext Box and the HTML Editor.
The Freetext Box is straight forward, allowing you to include text without any styling. These elements typically form part of a larger section in the downloaded report such as the text box at the bottom of the Client Circumstances or Plan Summary steps.


However, there are also circumstances that require the ability to add styling or include tables – for these areas, Genovo provides the HTML Editor.
HTML editor
The HTML Editor has more options for styling your content than the Freetext Box but requires caution as any erroneous input can potentially cause problems when downloading the report. The HTML Editor can be found in multiple areas throughout the Report Builder such as the:
- Review of your Existing Product > Plan Summary > Current Investment Strategy
- Review of your Existing Product > Plan Comparison: Performance
- Recommended Investment Strategy > Recommended Investment Strategy
The HTML Editor also appears in the Report Content Manager which is where you can customise the boilerplate content of your report output. If you’re unsure about the changes you can make in the Report Content Manager, our very own Kate Wells runs a webinar that addresses this topic called Grand Designs – How to customise your Genovo account.
The HTML Editor can also be found in the Provider Library, Investment Library and the Attitude to Risk Library enabling users to include graphs, charts and formatted text.

The ability to add styling is entirely optional and you can add text into the HTML Editor in the same way as you would the Freetext Box although you should be aware that when copying and pasting text from a document into the HTML Editor, you will need use the key combination of Ctrl + Shift + V which is a shortcut for ‘paste as plain text’. This removes any potential styling associated with the text you are copying.
Source button
The first element in the ribbon is Source. On clicking this button you can view the HTML (a mark-up language used in web development) of the text. I would suggest that you don’t make amendments here unless you are well versed in writing code in this language.
Headings
This dropdown enables you to convert standard text into Heading 1, 2 and 3. These headings follow what has been selected in your Report Theme so that it is consistent with the rest of your report. Another benefit of using Headings within the HTML Editor is that when you assign a Heading 1 to a text element, it will then show up in your Table of Contents in your Downloaded Report.

Colours
There may be occasions within a report when you wish to highlight text through a change in colour, for example within the Report Content Manager you might want to adjust the boilerplate text to include a reference to the carry forward allowance. This will not be applicable to all clients so you can include a note to delete the text in the Downloaded Report and make the text colour red so it stands out when the report is being reviewed.
Lists
You can add either numbered lists or bullet points within the HTML Editor. This is especially useful as it enables you to:
- Inform your client about a series of steps that will occur
- Let’s you list key points in an easier to read manner
- Helps break up walls of text
Creating tables
There are occasions where you want to present information in a table, for example comparing two products such as onshore and offshore bonds. This function is available at the click of a button in the HTML Editor with a pop-up modal allowing you to specify the rows and columns and the alignment of the table on the page. The Report Theme impacts how the table appears so be sure to include Headers to provide a consistent look and feel to your tables.

Please be aware, that these tables can only be populated with static content that you input manually meaning that they can’t pull through information from elsewhere in the Report Builder.
Adding an image
One of the major benefits of the HTML editor is the ability to add an image. This could be an asset allocation table or the fund performance from the fund factsheet or anything else you might think appropriate.

You can copy an image using the standard Ctrl + V as images don’t have any styling attached but to ensure that it displays correctly, I would advise setting the Image Properties correctly as explained in our Knowledge Base article.
Page break
The page break function allows you to include content that spans multiple pages meaning that you can write up your content, add a page break and then include further information that will appear on a separate page in the Downloaded Report.
This is especially useful in the Report Content Manager, where you may want to include a custom page. For example, if you want to include a dedicated section about your company’s investment philosophy in the appendix of your reports, you can navigate to the Appendix Title Page, add a page break and then add the title of the new section (don’t forgot to add the title as a Heading 1 so it appears in the Table of Contents). Then when the report is downloaded, the heading will appear on a separate page after the Appendix Title Page.

Simon’s Summary
Well, that concludes this week’s user tip blog. While the topic is straight forward, there are potential pitfalls for the unwary but having read this blog, you’ll now be able to navigate past them without concern.
Further Reading
You’ll find loads more really useful information in:
- Genovo’s series of User Tip blogs;
- the extensive Genovo Knowledge Base;
- the collection of really useful Genovo matrices;
- the ever popular Genovo video tutorials; or
- by attending one or more of our regular monthly training webinars.
Of course, if you’re still stuck, or just need a helping hand, you can always submit a support ticket and we’ll get straight back to you.
Finally – make sure you don’t miss any of our hints & tips – subscribe and get email alerts when we update our blog.
Written by Simon Large
Simon is a technically minded individual with over 12 years experience working in the financial services with roles ranging from paraplanner, portfolio manager and adviser. He made the decision to change career paths into technology out of a genuine desire to help develop resources that result in better client outcomes. Outside of work, Simon volunteers his time mentoring future advisers & paraplanners with any time left over being reserved for studying and the occasional computer game binge.
Share this post
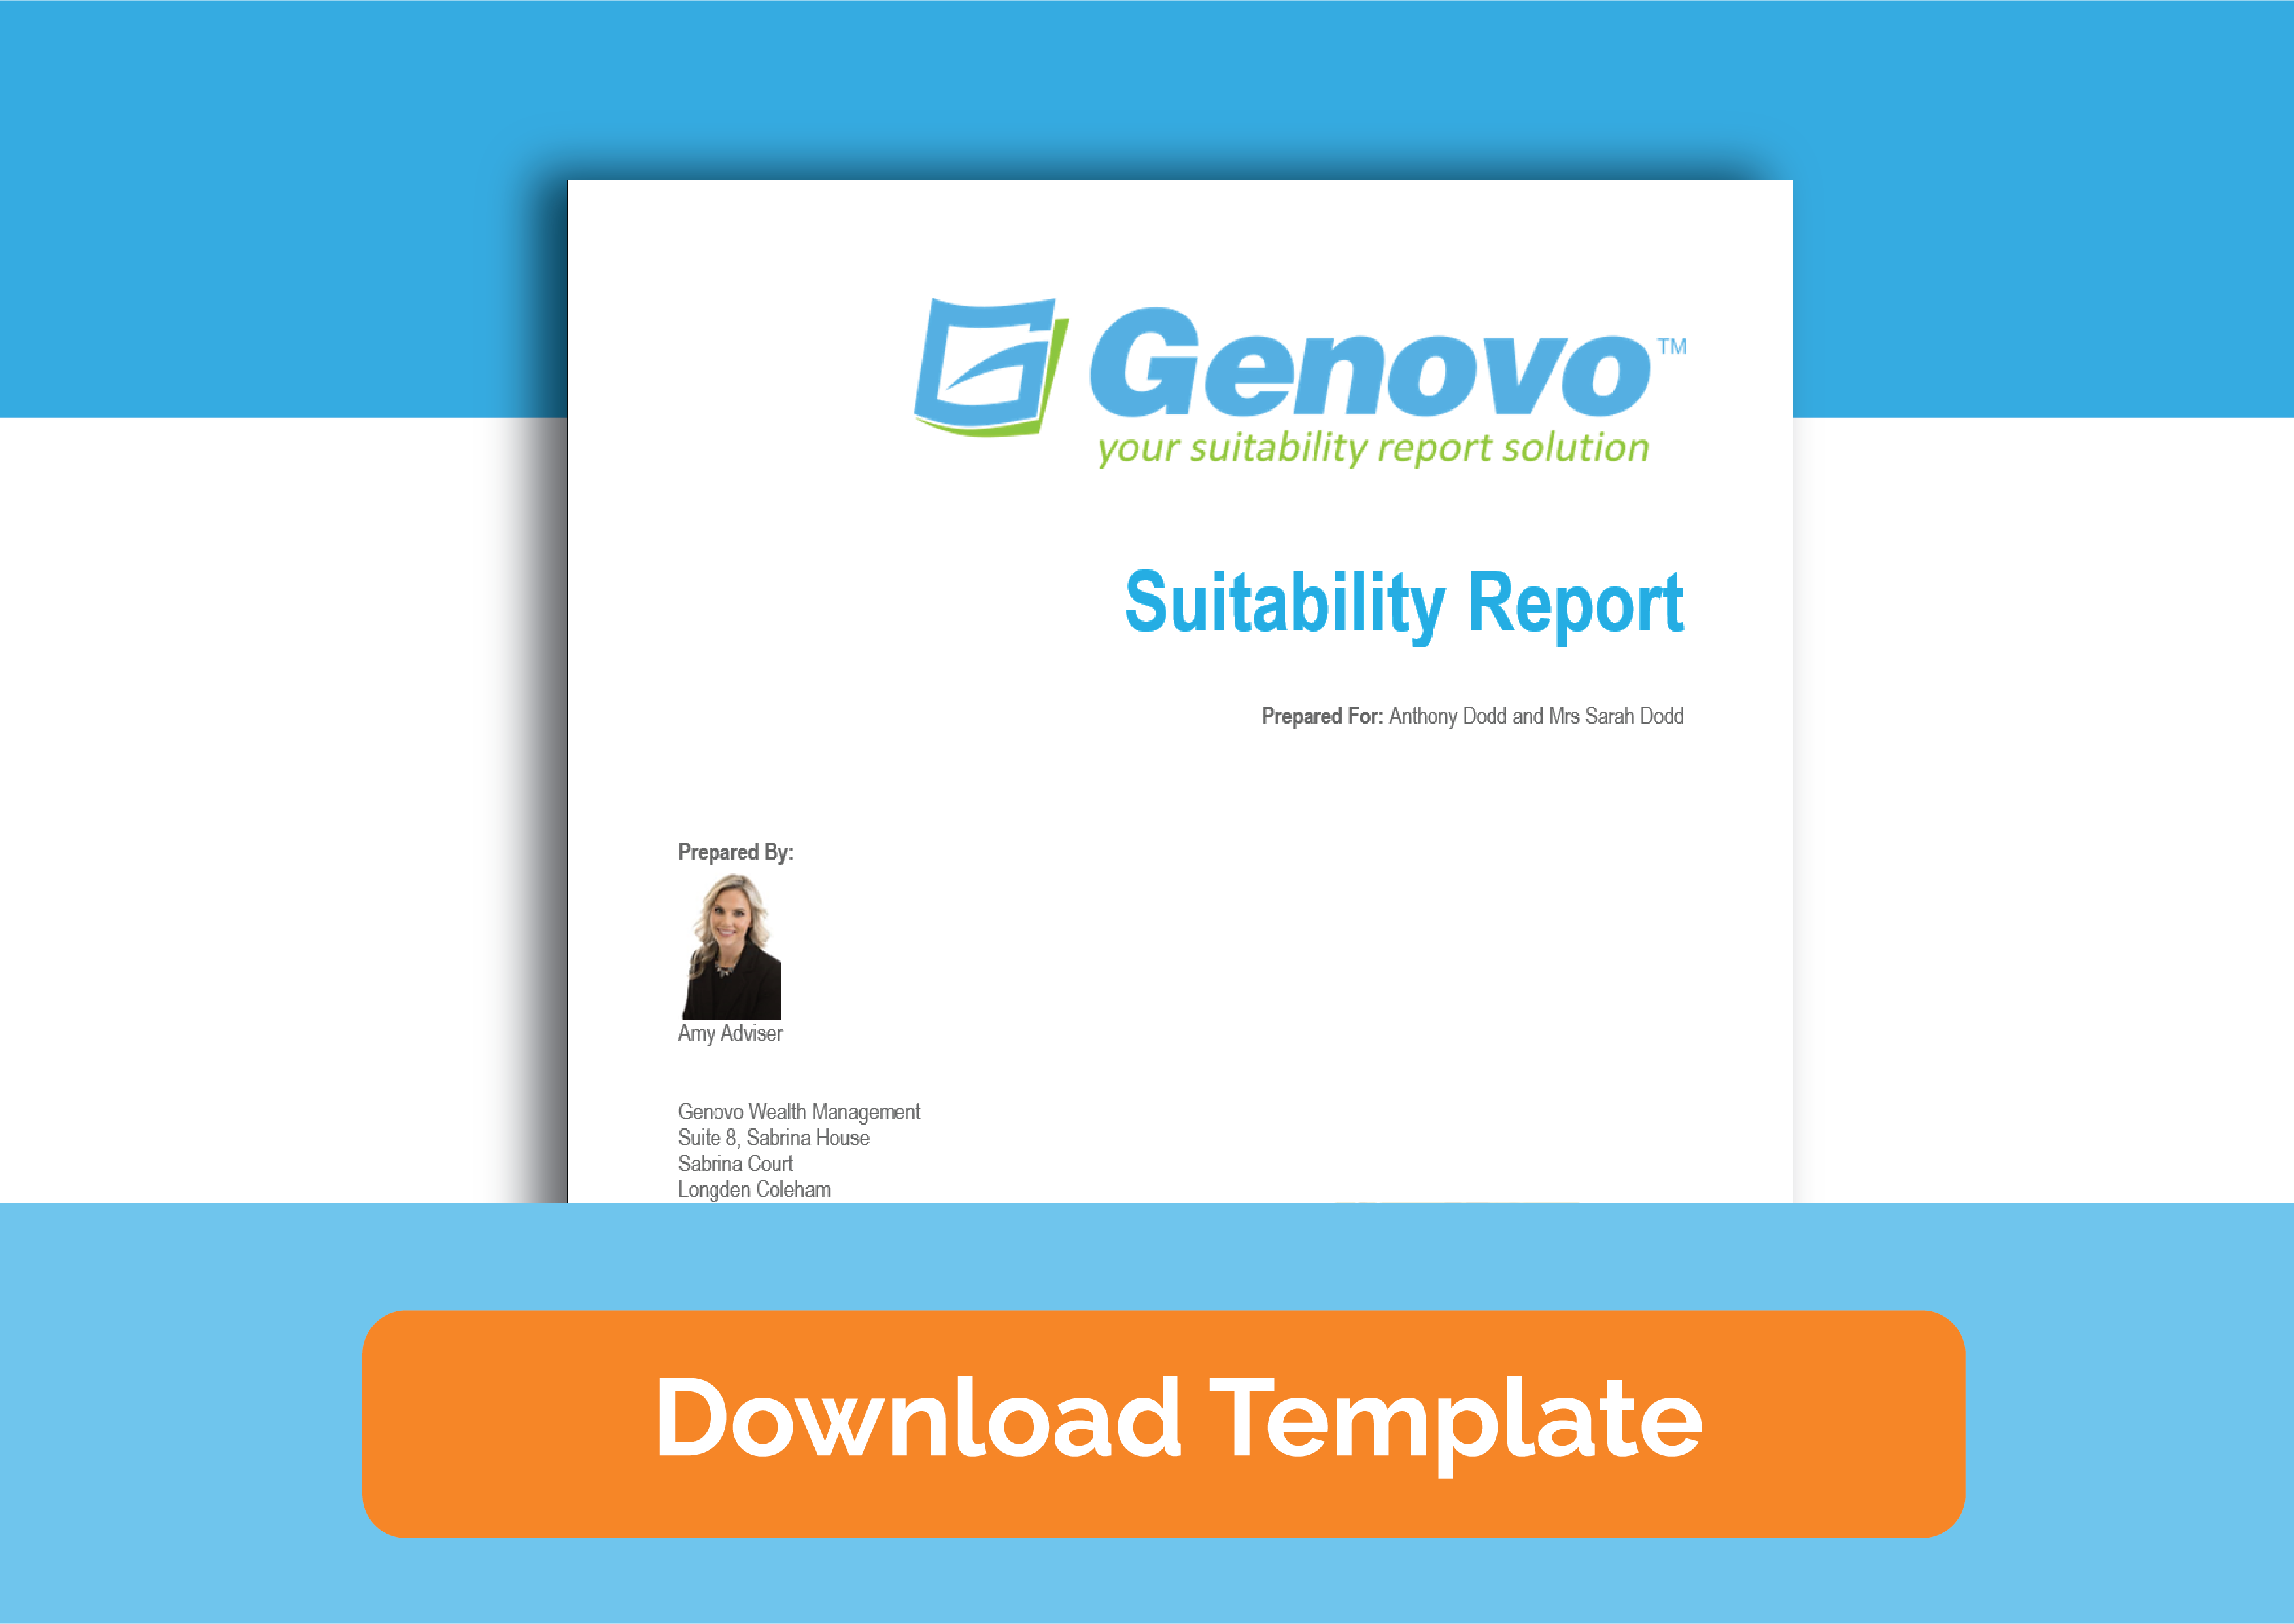
Free suitability report template
Learn how to make your reports more reader-friendly and engaging.
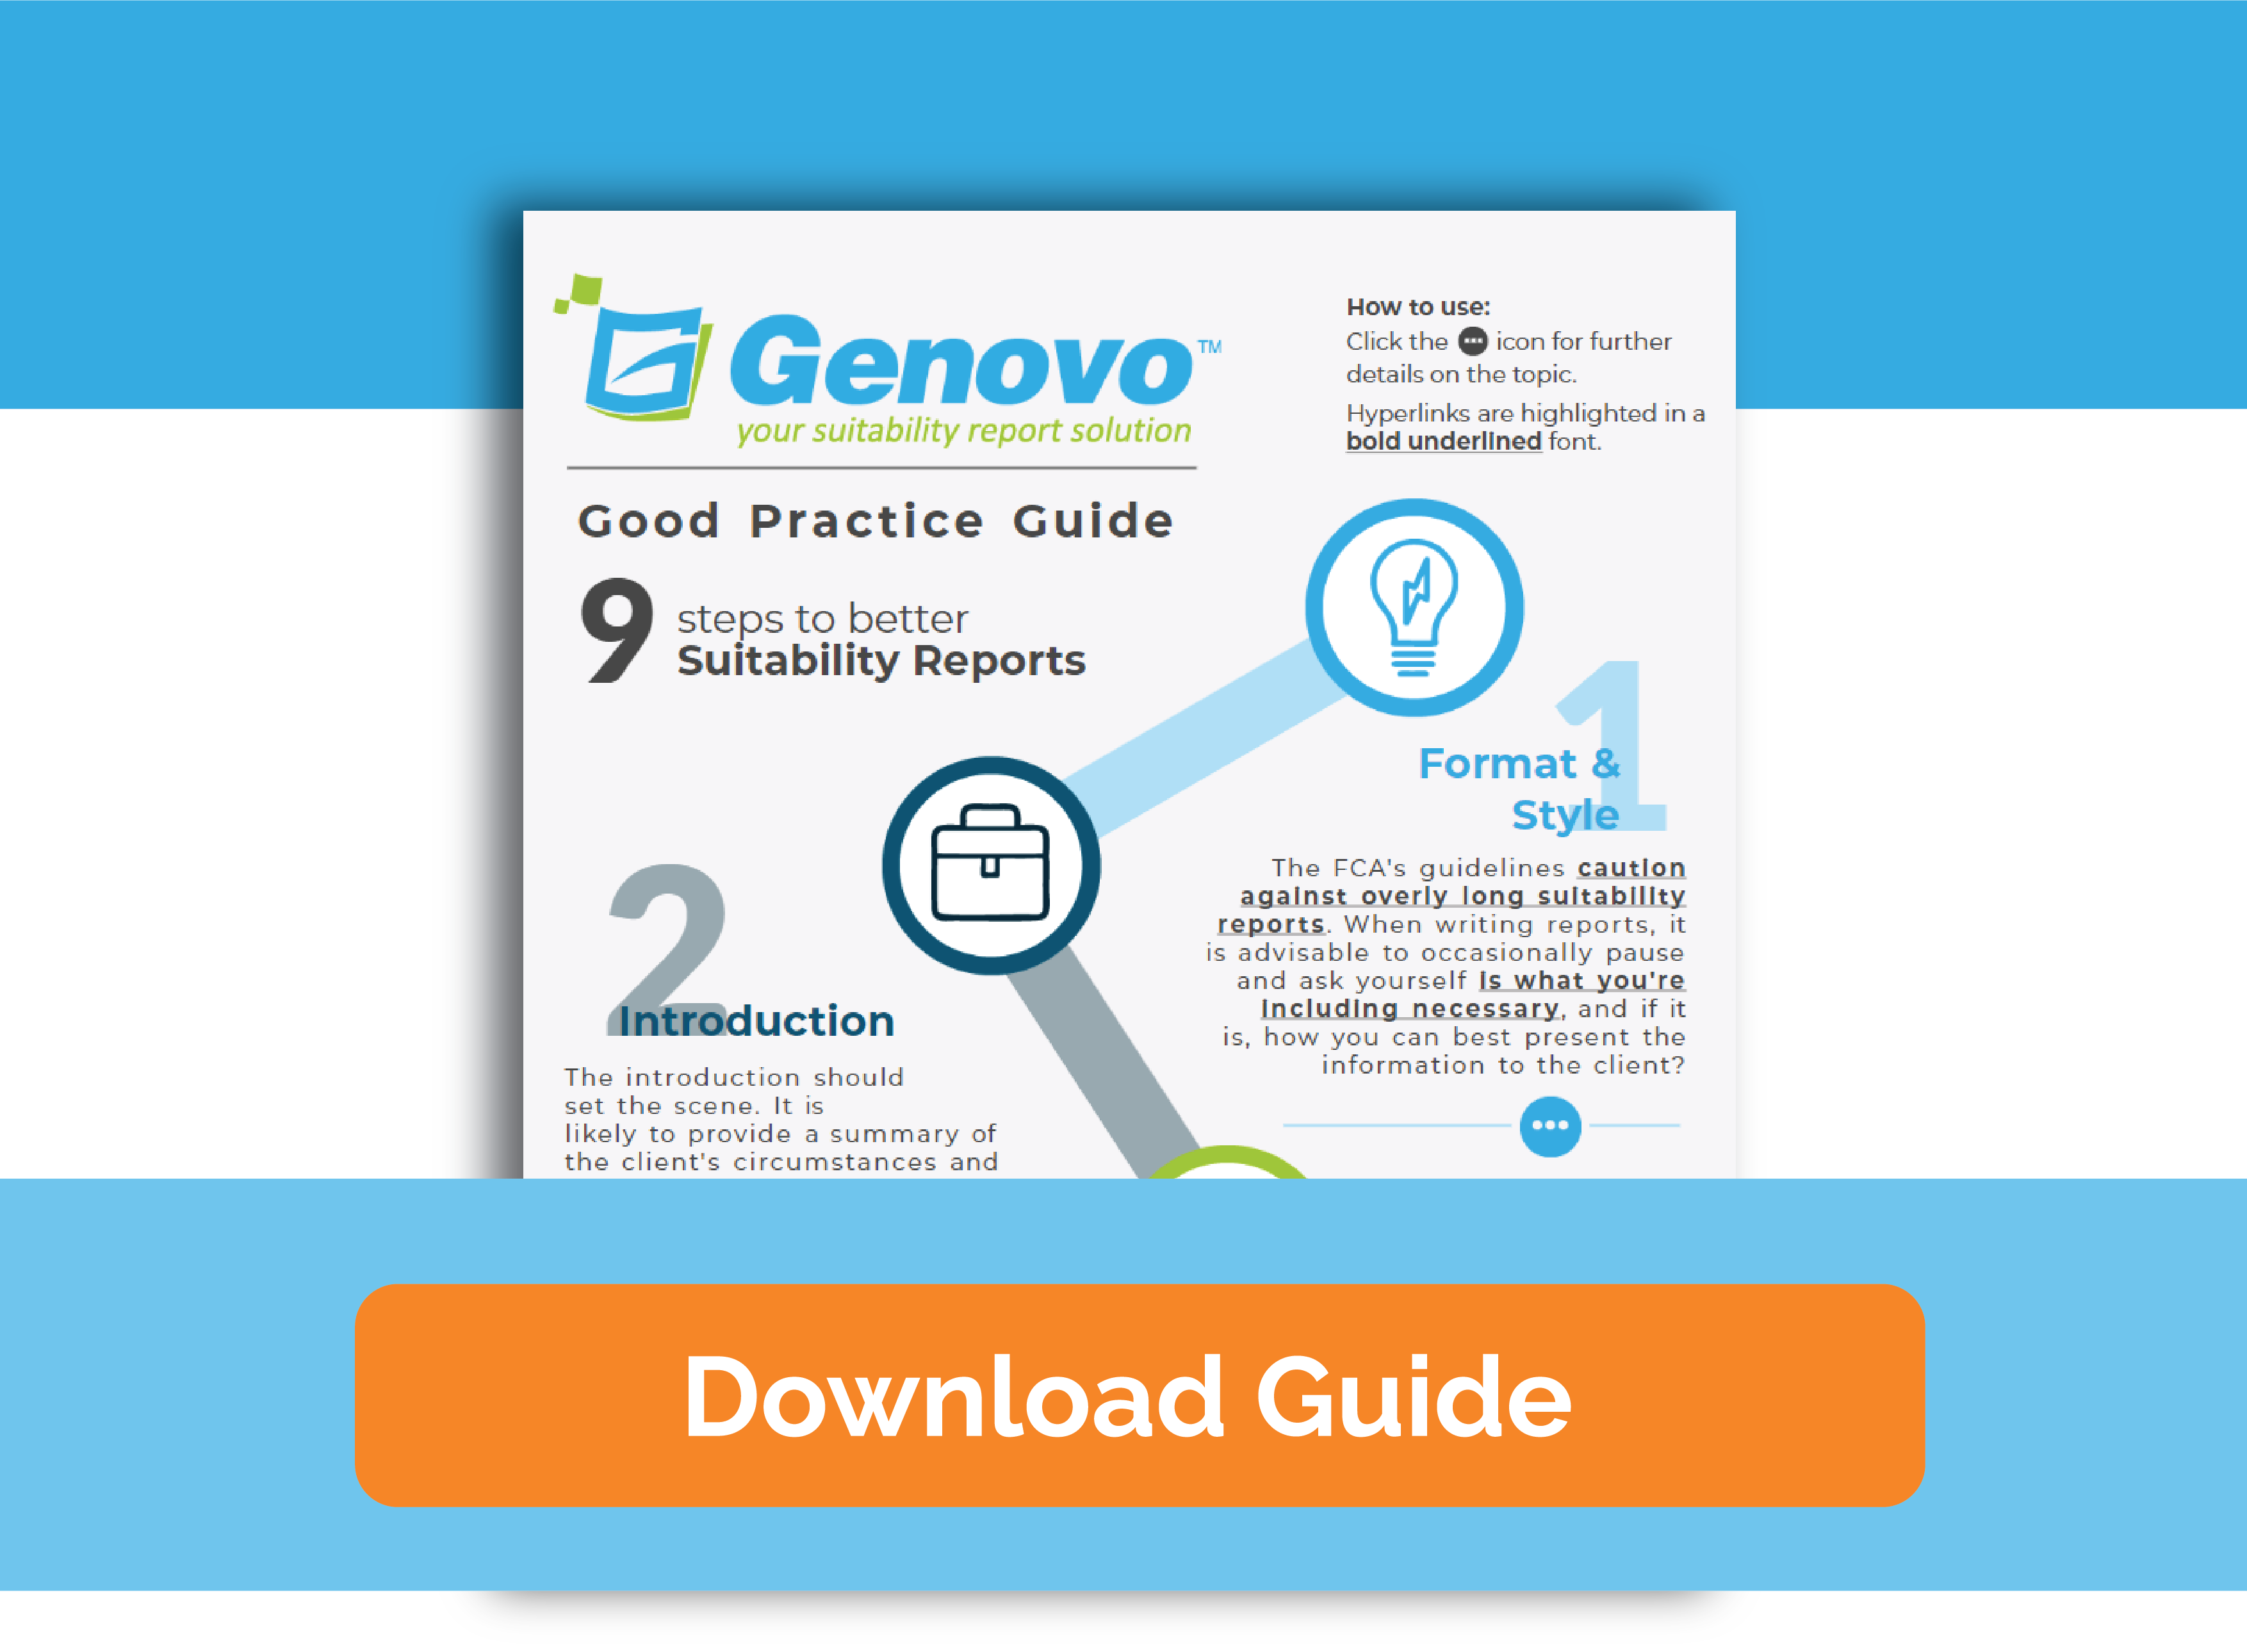
Suitability report best practice guide
Download the interactive guide and follow our 9 steps to better suitability reports.