How to write a report consolidating one or more existing pension plans into a new pension plan
Nigel Ogram
Following on from last month’s blog where I showed how to use Genovo to consolidate one or more existing pension plans into another existing pension plan, this month, in part two of the four-part mini-series we’re looking at consolidating one or more existing pension plans into a new pension plan.
As was the case last month, this blog isn’t going to explore everything that needs to be considered when pension switching but instead focuses on the task of documenting the advice in a quick to create and easy to read, compliant suitability report.
The process
1. Select or add the client
From the Genovo main dashboard, go to Write report and select or create the private client you wish to write the report to.
2. Select the Report Creation Method
This article walks you through the steps of building the report using Genovo’s ‘from scratch’ report creation method. There are other report creation methods available, designed to fast-track you through one or more of the steps below and make the report building process even easier.
3. Create the report
In Report Details, give the report a name and select the Report Type. Assuming you’re creating the report ‘from scratch‘, we’d suggest using the Suitability Report. However, it is also possible to use the Review Report 2.0.
4. Add the required sections
You’ll then be directed to the Report Builder where you should add the necessary sections from the ‘Available sections’ drop down, which in this instance will be:
- Review of Your Existing Pension Plans for uncrystallised plans, or
- Review of Your Existing Retirement Income Plans for crystallised or partly crystallised plans
- New Pension Recommendation for uncrystallised plans, or
- Drawing Benefits from Your Pension Funds for crystallised or partly crystallised plans
- Recommended Investment Strategy
4.1. The review sections
4.2. The recommendation sections
4.3. The investment strategy
5. Complete all section wizards
Next, you’ll need to step through the section wizards of all sections that require your input, as follows:
5.1. The Introduction section
Progress through the steps of the Introduction section in the usual way. When you reach the Client Objectives step you should select or add the advice option(s) that accurately reflect the client’s objective(s) and add comprehensive Know Your Client (KYC) information to ensure you fulfil the regulator’s expectations of you in terms of documenting a client’s objectives.
There’s a Genovo advice option specifically for replacement business:
‘Consolidate your existing *investments and / or pensions* where appropriate, so it is easier to manage your investment portfolio and see how it is performing.’
Once you’ve selected this option, you can click on the Edit Objective / Add KYC info link to tweak the objective wording to suit the client’s actual objectives and to add the KYC info – the ‘back story’ behind the client’s desire to consolidate plans.
Of course, you can add your own Advice Option if you prefer, or you can enter the client’s objectives by typing or pasting in external content by clicking the Add objectives as freetext button.
5.2. The Client Risk Profile section
It’s in this section that you will confirm the client’s attitude to risk and capacity for loss, as well as their knowledge and experience and any investment preferences.
5.3. The Review section
First – whether its Review of Your Existing Pension Plans for uncrystallised plans, or Review of Your Existing Retirement Income Plans for crystallised or partly crystallised plans, you’ll be prompted to provide an overview of the existing plans within the Plan Summary step.
Just click the Add Plan button and you’ll be shown a new window where you can enter all the required plan details. If your Genovo account is integrated with your back-office app (and you’re working with an integrated client), adding plans is even easier – just click the Add plans from CRM button and chose which plans you want to import.
Next, complete the Benefits & Features step – very important for pension switching recommendations.
Next, summarise the ongoing charges of the plans being reviewed in the Current Plan Charges step.
In the Recommended Action step, you will need to confirm what action you are recommending in respect to each plan. For all plans being switched, you should select either:
- ‘switch’ – if you’re recommending the plan is switched in its entirety, or
- ‘partially switch’ – if you’re recommending that the ceding plan remains in force (useful for advising on partial switches from current active workplace pensions, where the employer won’t contribute to the employee’s own plan).
You should ensure that after you’ve selected the appropriate Recommended Action, you also add some associated Advice Reasons – this is the ‘why’ part of the advice. Just click the Add advice reason hyperlink and then select from any of the standard advice reasons, or of course, you can add your own custom advice reason.

You can then confirm any disadvantages associated with the recommendation being made in the Key Disadvantages and Tax Implications step.
Finally for this section, because this is replacement business, you will also be prompted to compare the following aspects of the ceding and receiving plans in the Plan Comparison steps.
- Plan Charges – Quantify the difference in the Total Annual Recurring Charge of the existing plan and the new plan that is being recommended to replace it
- Reduction in Yield (RIY) – Compare the RIY of the existing plan and the new plan that is being recommended to replace it.
- Performance – if performance has been cited as a factor for replacing the current plan, we would expect to see supporting information here.
- Death Benefits – allows you to record a ‘before & after’ position regarding the plan’s death benefits
5.4. The Recommendation section
Just as with the review section above, your first task is to add the plan(s). Just as with the review sections, this is either done manually by clicking the Add plans button, or if your Genovo account is integrated with your back-office app (and you’re working with an integrated client), click the Add plans from CRM button and chose which plans you want to import.
Next, you’ll complete the three ‘why’ steps for the new plan recommendation – Why Product Type, Why Contribution and Why Provider / Plan.
After the ‘why’ steps, complete the Plan Charges step (the Total Charge value from this step will be needed in the Plan Comparison: Plan Charges step in the review section detailed above). If the provider / plan you’re recommending is one that you frequently recommend, consider using the Plan Charges Profiles Library so that some of the charges can be pre-populated in this step.
Next, complete last three steps of this section:
- Plan Features and Benefits step (which the client can use to compare with the same step in the review section)
- Key Disadvantages & Tax Implications step to record any disadvantages the client will experience by switching plans. Remember that in Genovo, disadvantages are different to risk warnings, with the former being something that will happen and the latter being something that might happen. Disadvantages are selected by the user and risk warnings are automated.
- Other Solutions – this step (optionally) allows you to disclose what other solutions you considered, but discounted
5.5. The Recommendation Investment Strategy section
Because you’re recommending a new plan, you’ll need to complete the Recommended Investment Strategy section to detail the investment strategy of the plan you’re recommending.
5.5. The Important Information section
This is the last wizard section you’ll need to complete and is self-explanatory.
6. Tailor the structure of the report
Having completed all the section wizards you should then tailor the structure of your report by unchecking any sections you do not wish to include in your report; and then change the sort order of any sections to reflect your personal preferences.
7. Create the report
Having created the framework of the report of the report with 98%+ of the content already included as an initial draft in the Report Builder, both Writer and Reader users can then make any final tweaks to the content of the draft report in the Report Editor. To open and edit the report in the Report Editor click Create / Edit report.
Nigel’s knowledge
So, what else can you do to make pension switching reports easier to complete?
- An integration with a back-office app makes adding clients and plans much easier. This area of the Genovo Knowledge Base covers our current integration partners.
- If the advice scenario of the report you’ve just worked on is likely to be repeated, you may then wish to convert it into a template and save it to your Report Template Library to use as a starting point for creating future reports.
- If you created any custom advice options or advice reasons, you can keep them for re-use in future reports. You can do this ‘on the fly’ as you’re working in the relevant step, or you can do it from the Advice Option & Reason Library.
- If you want to personalise any of the report content to reflect your own preferences, you can do this via the Report Content Manager:
Further reading
You’ll find loads more really useful information in:
- Genovo’s series of User Tip blogs;
- the extensive Genovo Knowledge Base;
- the collection of really useful Genovo matrices;
- the ever popular Genovo video tutorials; or
Of course, if you’re still stuck, or just need a helping hand, you can always submit a support ticket and we’ll get straight back to you.
Finally – make sure you don’t miss any of our hints & tips – subscribe and get email alerts when we update our blog.
Written by Nigel Ogram
Nigel has worked in financial services in one form or another for over 35 years. After a few years as an adviser, he started his paraplanning career in 1997 and quickly found an affinity for building and establishing systems and processes designed to drive efficiencies. While paraplanning, Nigel also developed and marketed an Excel-based factfind / needs analysis system, which opened up a new path working with financial services software. This continued with roles at Synaptic Systems, where in addition to being the in-house subject-matter expert on the core applications, Nigel developed a passion for helping advisers and their teams integrate software effectively and profitably within their businesses. Outside of work, Nigel is a confirmed “petrolhead” with a strong interest in motorsport, which he often combines with his second hobby – photography, which he shares with his two sons.
Share this post
Free suitability report template
Learn how to make your reports more reader-friendly and engaging.
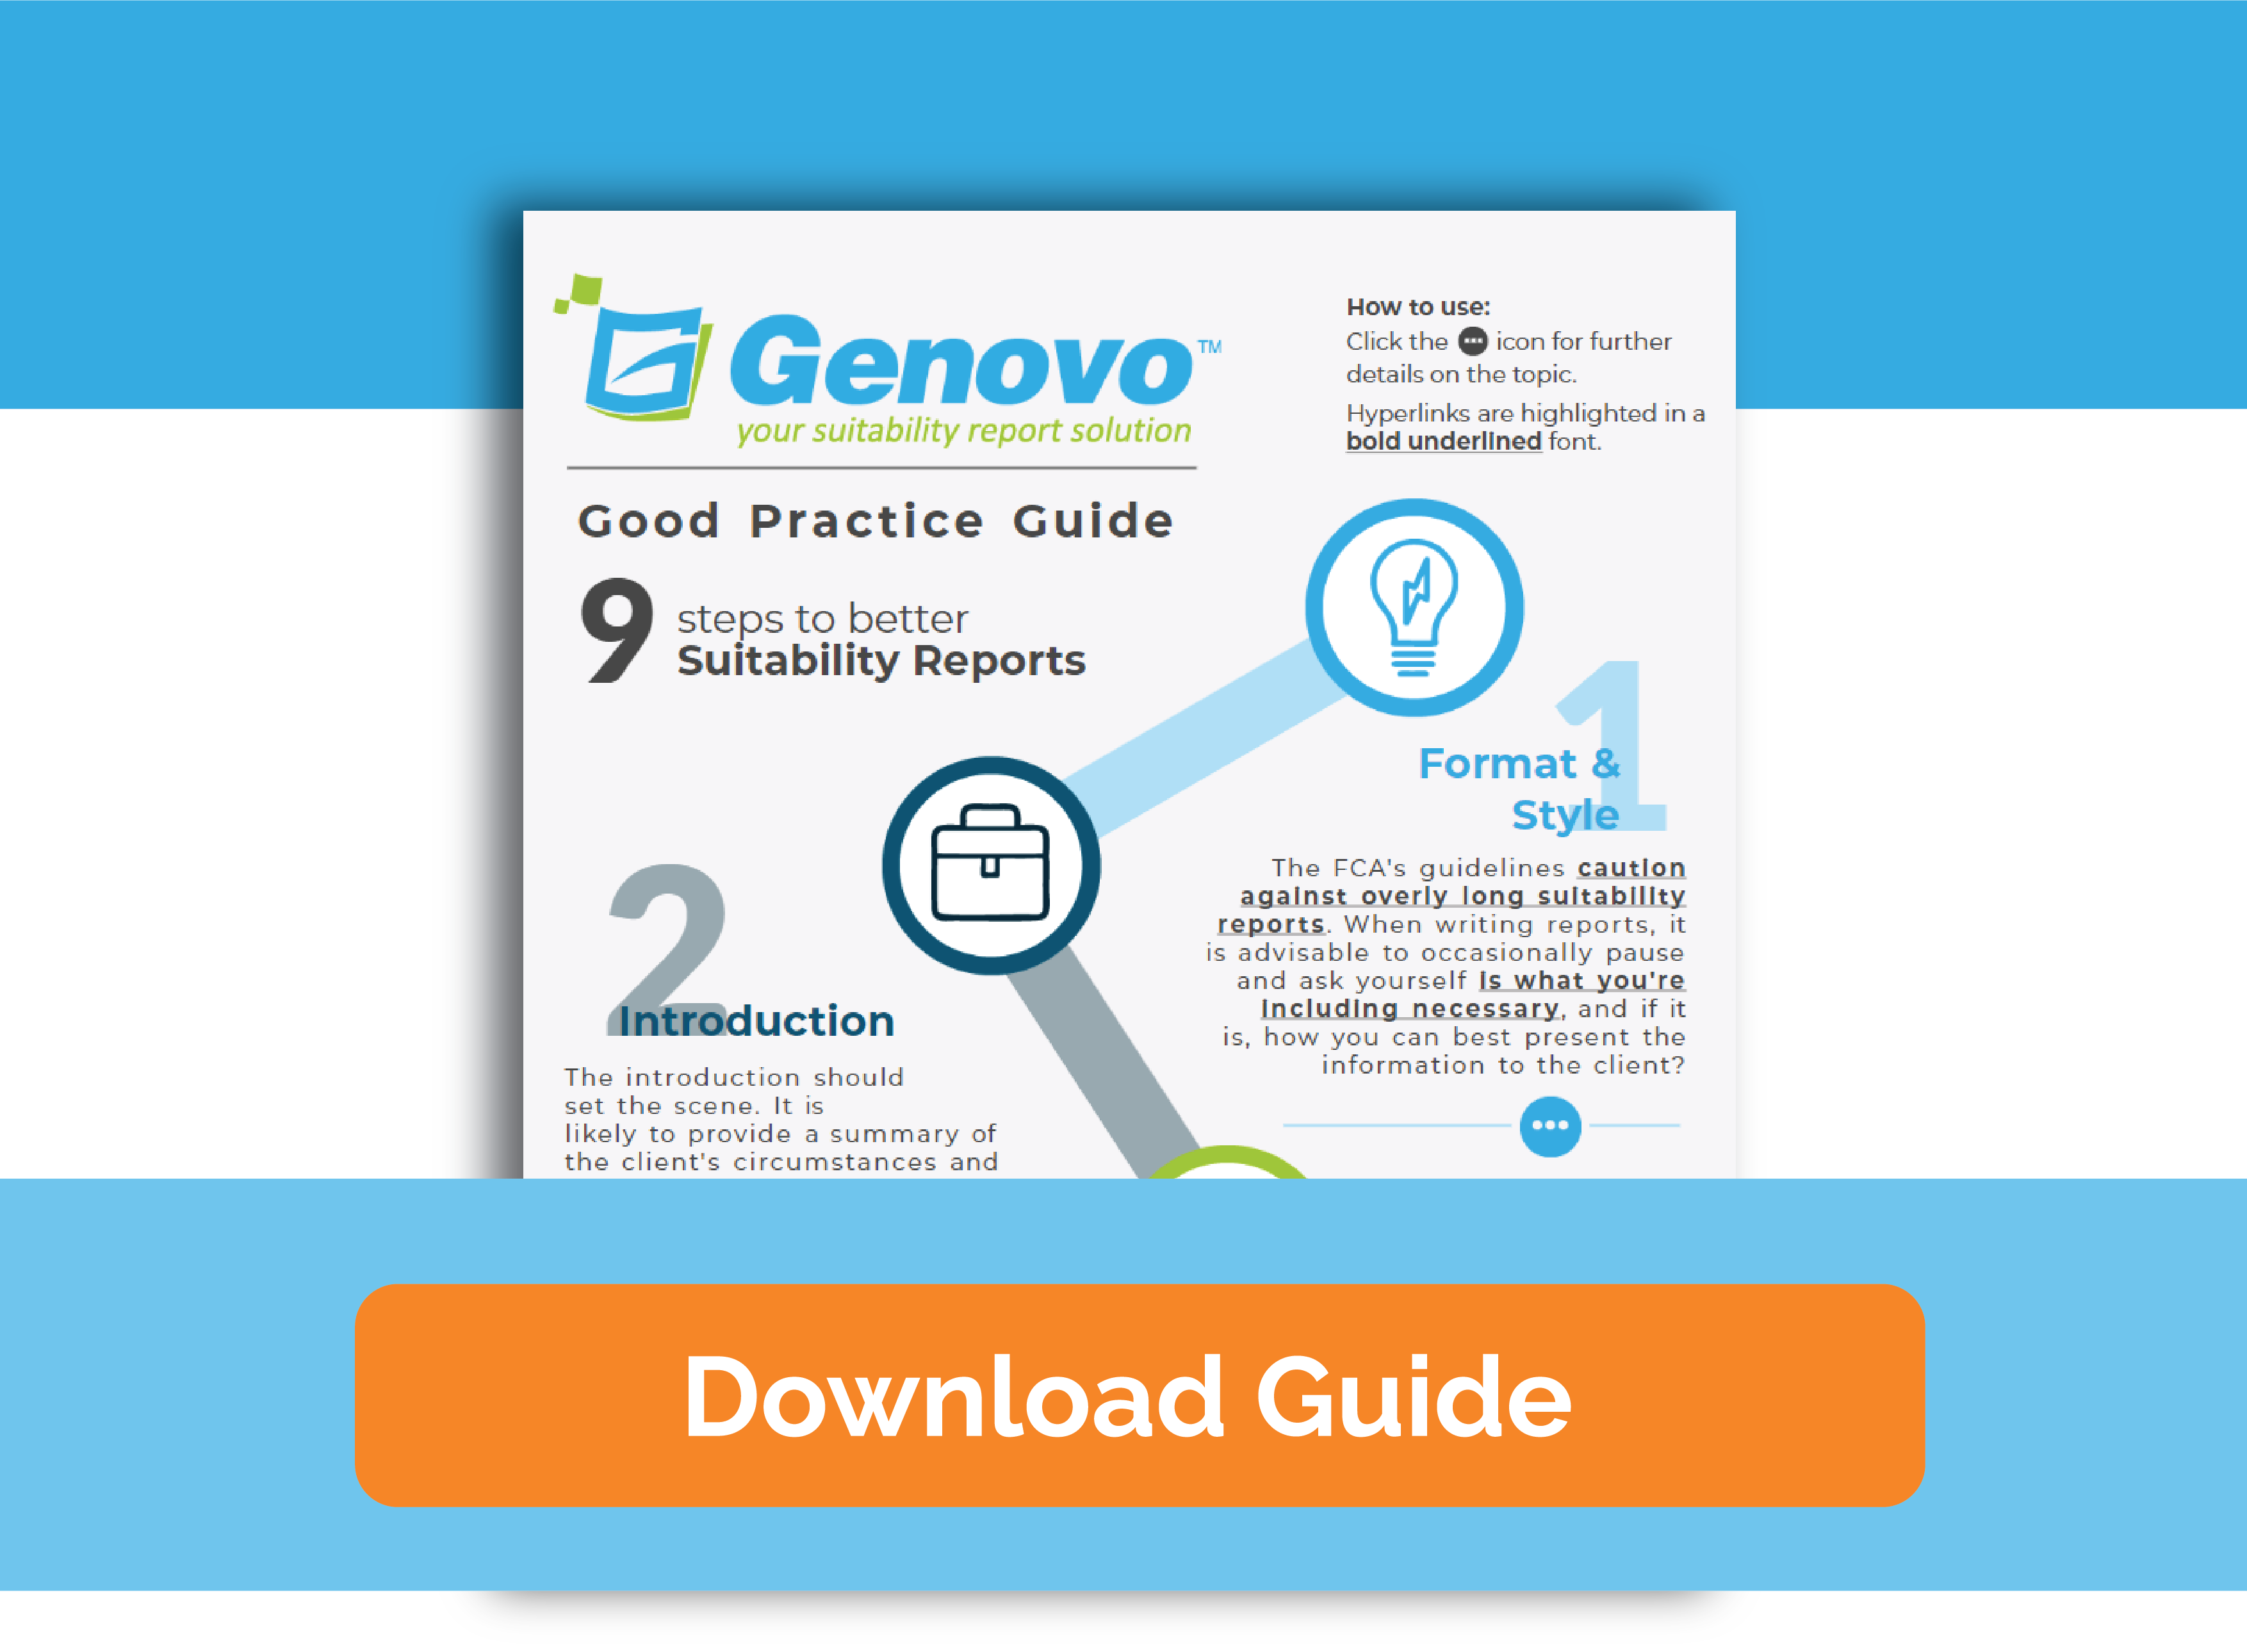
Suitability report best practice guide
Download the interactive guide and follow our 9 steps to better suitability reports.