Word tips 2 – Suitability Report Cover Pages and Table of Contents
Ed Evans
 |
IMPORTANT – This user tip relates to an older version of Genovo. Although much of the content and many of the concepts still apply to the current version of Genovo, the screenshots and some instructions may no longer be accurate. |
It’s often said that documents can play a strong role in establishing trust within advice relationships. Documents that are clear, reader friendly and engaging can help improve understanding, but can also play a vital part in making your company look more professional and help you keep one step ahead of the competition.
Following on from my previous post, here are some more useful Word tips that could help you make your suitability reports and other documents more reader friendly and engaging.
Suitability Report Cover Pages
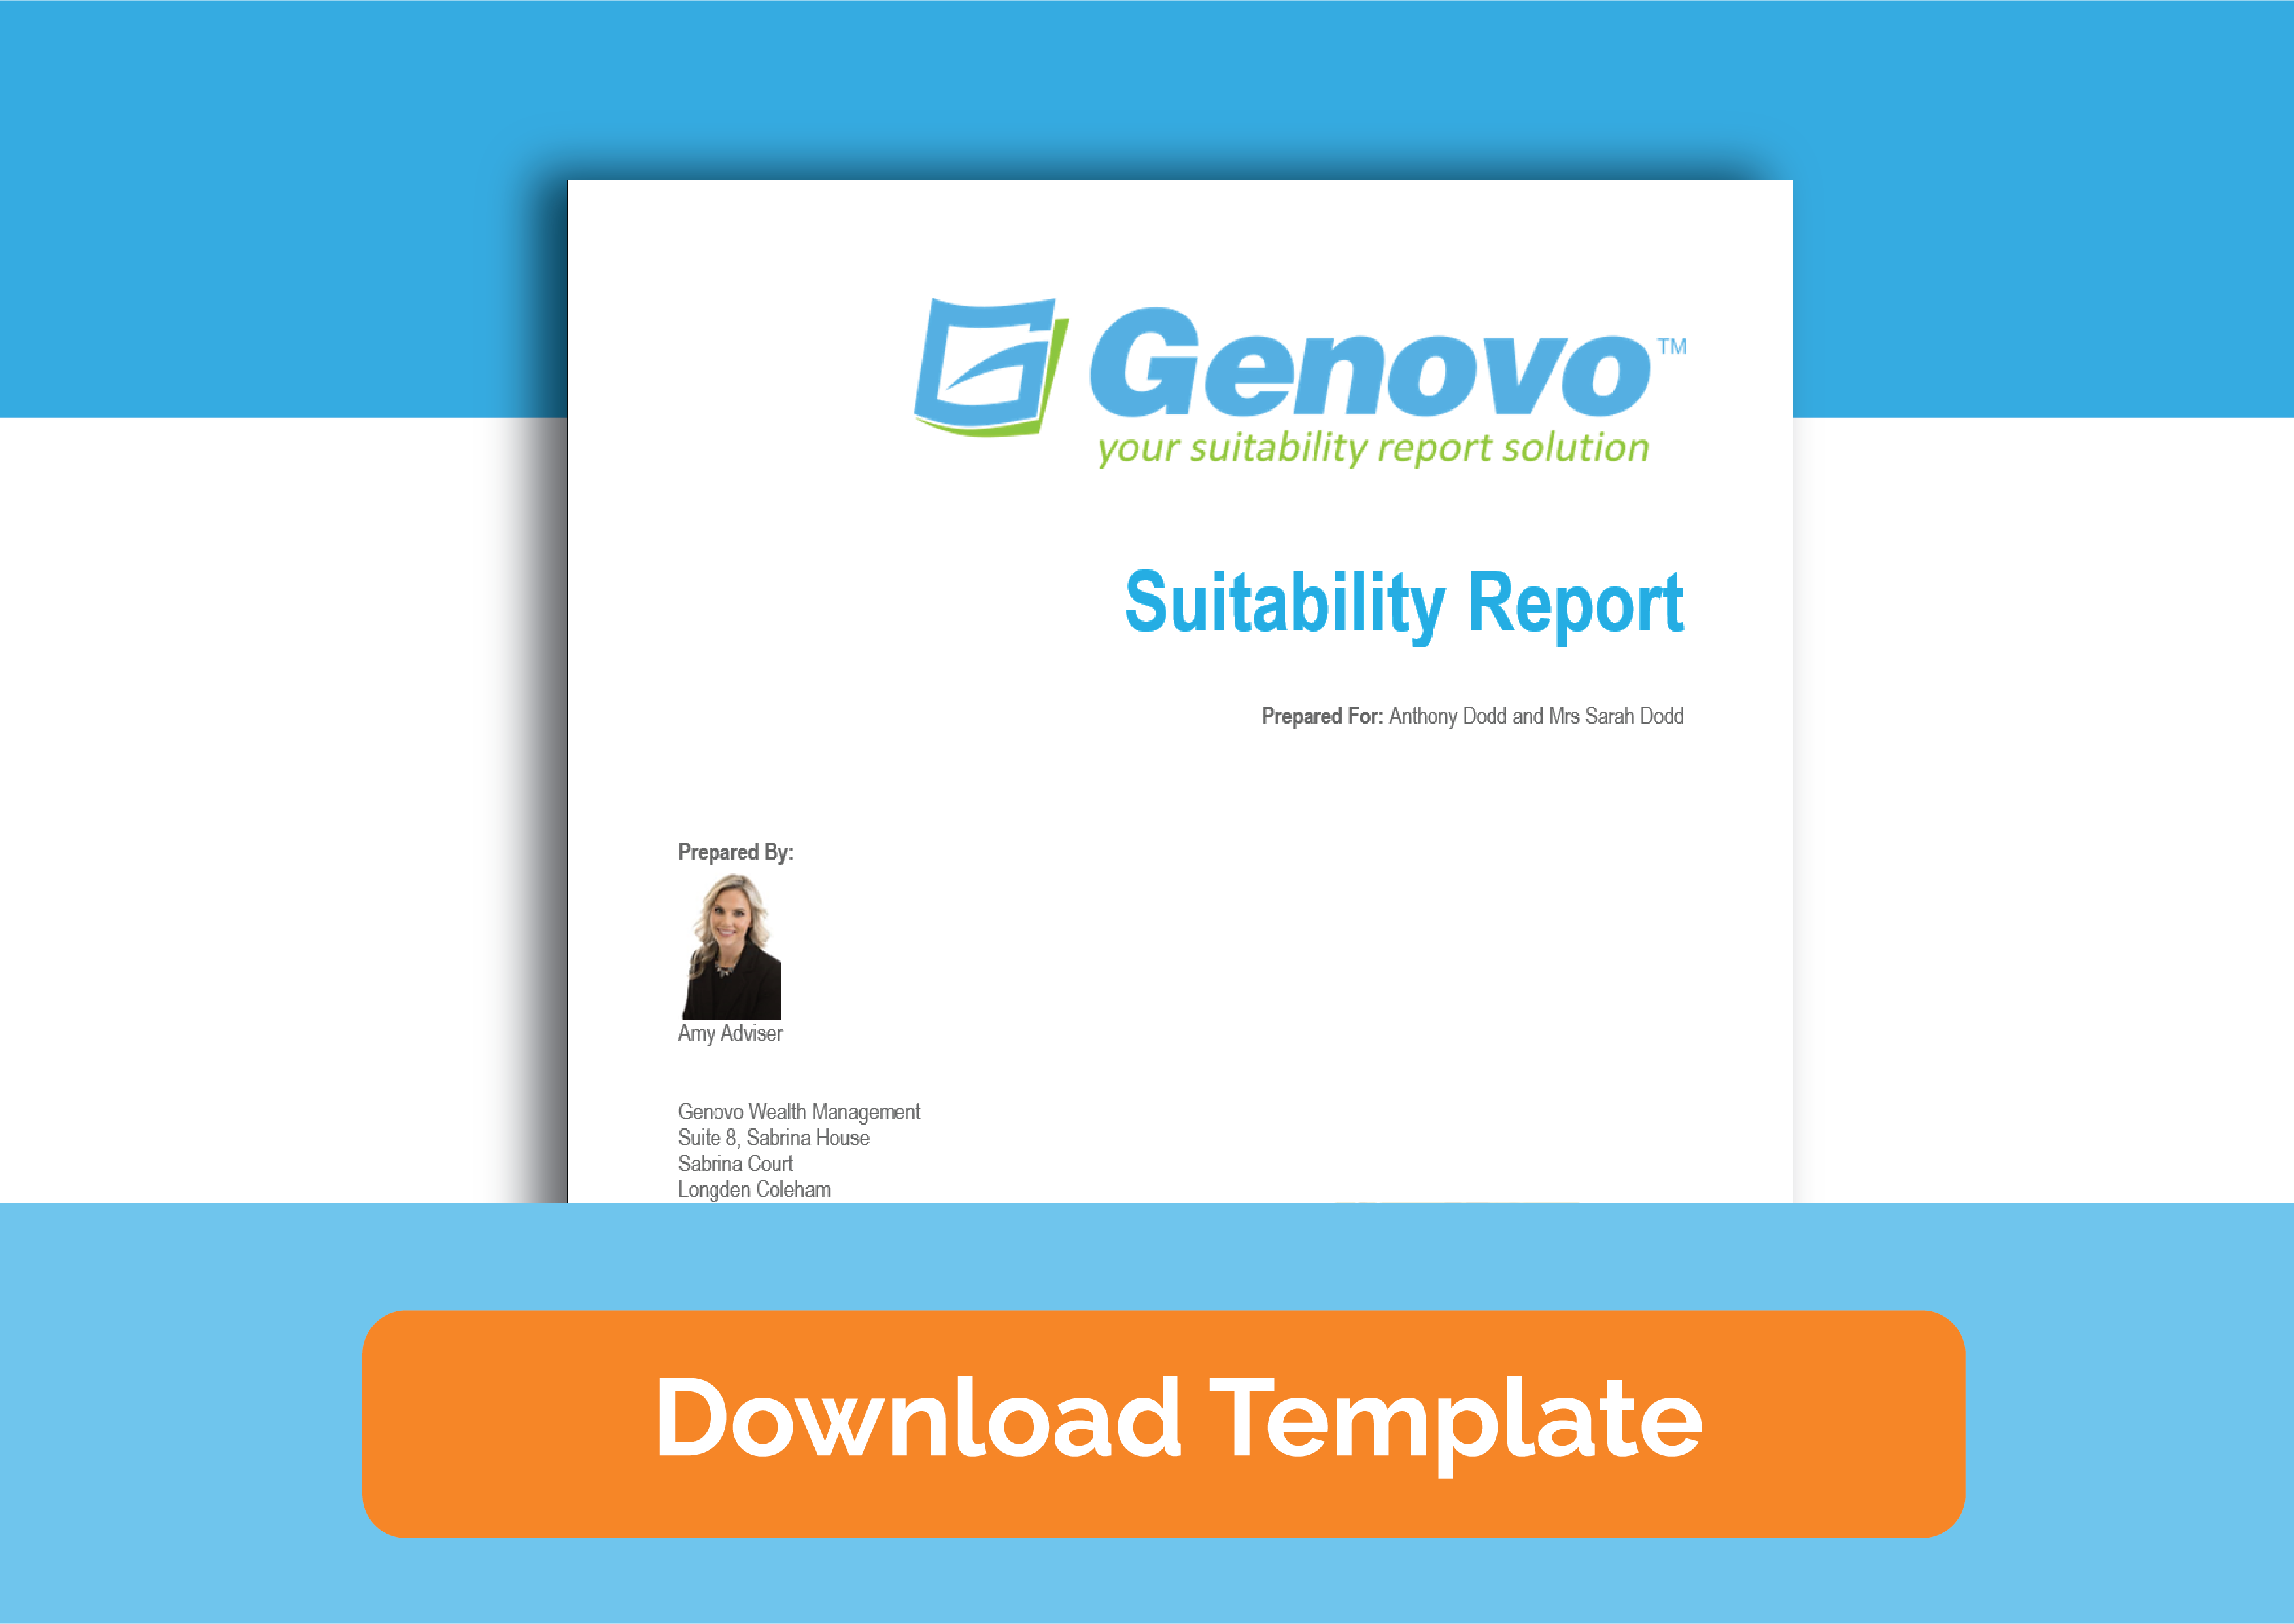
If you are creating a suitability report using Genovo, then the app will automatically include a cover page in the report when it’s downloaded to Word. The design of which can be edited in Genovo’s Report Content Manager, but only within the boundaries of what a web page HTML editor will allow. If you want to include a more complex front page, for example one that contains complex formatting or a background image, then it may be simpler to create and save it in Word as a template, then drop it into your report once it has been downloaded. You can save multiple front page templates in Word for any document you create, and here’s how.
1. Create a new document in word.
2. Create a new front page with your desired wording and imagery.
3. Press CTRL and A together or click Select All in the task bar.
4. Select the Insert tab in the task bar, click Cover Page, then click Save selection to cover page gallery…
5. Give it an appropriate name e.g. Client Agreement Cover Page and click save
You will then be able to quickly insert that cover page whenever required by going to the Insert tab, clicking on Cover Page and selecting it from the cover page gallery.
Creating documents with a table of contents
Genovo automatically inserts a table of contents into your suitability report that marries up to all of the headings in the document, but if you are creating a document from scratch and you want to include a table of contents, there are certain steps you will need to follow. In this example, I describe how you would create a simple document of two paragraphs, two types of heading and a table of contents.
1. Create a new word document and insert your cover page if you have as described above.
2. Go to a new page, then select the References tab in the task bar, then Click Table of Contents and select the style of table you wish to insert.
3. Go to the next page of the document and add your first heading e.g. Introduction, then highlight the heading and select Heading 1 from the Styles Section of the Home Tab (by default, only Heading 1 and Heading 2 styles will appear in your table of contents when you update it). Note you can also edit the format of each heading style, by left clicking on the heading style in the task bar.
4. Type your paragraph text e.g. your introduction paragraph. below the title.
5. Add a sub title e.g. About Us below this paragraph, highlight it, then select Heading 2 from the Styles section of the task bar.
6. Go back to your table of contents, right-click on it, select Update Field, select Update entire table, then click OK. Your table of contents should now reflect the titles and the appropriate page numbers.
Hope that helps. Make sure you don’t miss our blogs – subscribe and get email alerts when we update our blog.
Image courtesy of bplanet / FreeDigitalPhotos.net

