How to set up and use the integration with intelliflo office
Ed Evans
 |
IMPORTANT – This user tip relates to an older version of Genovo. Although much of the content and many of the concepts still apply to the current version of Genovo, the screenshots and some instructions may no longer be accurate. |
We know this has been on the ‘wishlist’ of a number of our users (and non-users) for a little time now, so I’m super pleased to announce that the Genovo / intelliflo office integration is now live and available via the intelliflo store.
What will the integration allow you to do?
Once activated, the integration will allow you to:
- Seamlessly pull client data from intelliflo office into Genovo.
- Update integrated client data at any time.
- Convert an existing client you’ve previously saved in the Genovo Client Library into an integrated client, and update their details.
- Pull details of a client’s pensions, investments or protection plans into a report with just a couple of clicks.
- Update integrated plan data at any any time, for example at the client’s next annual review.
- Convert an existing non-integrated plan into an integrated plan, and automatically update the plan’s details.
But ultimately what this integration will allow you to do is save heaps of time as you’ll never need to re-key any of this information ever again!
To see what client-related data is currently available via the integration click here.
To see what plan-related data is currently available via the integration click here.
How do you set up the integration?
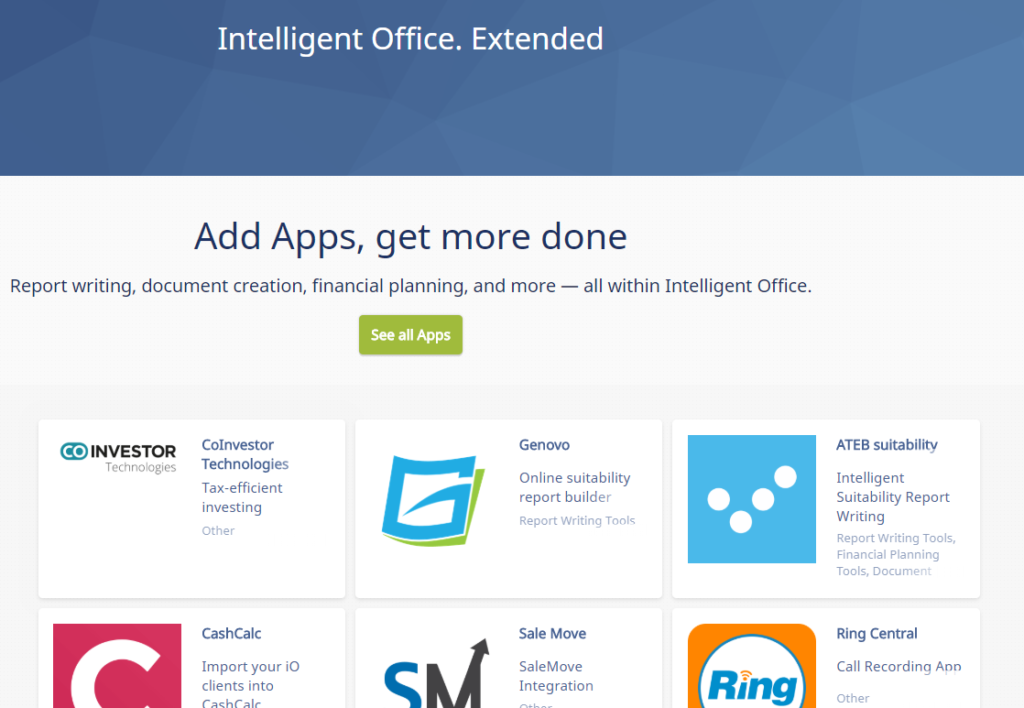
It’s really easy to set up the integration. Simply visit the intelliflo store and click on the Genovo app.
You’ll need to request the app. by clicking the green install app button at the bottom of the page, and then confirm your acceptance of the terms and conditions.
On clicking continue you’ll be directed to the Genovo login page where you’ll be prompted to enter your Genovo username and password. Having successfully entered your Genovo username and password, you’ll be directed back to the intelliflo store where you’ll notice that the green install app button at the bottom of the page is greyed out and your integration is now active.
You’ll find detailed step-by-step instructions to help you set up the integration here.
Where can you find more information about the integration?
You’ll find everything you need to know about how the integration works in our Knowledge Base.
We’ve also created a little video that walks you through how to set up the integration, and shows you how, having set up the integration, you can seamlessly pull both client and plan data from intelliflo office into Genovo.
What else can you expect from the integration?
We’ll be continuing to work hard to extend the integration, with new features and enhancements becoming available over the coming weeks and months. In the first instance, we’ll be including the ability to pull details of a client’s existing and new mortgages from intelliflo office into Genovo with a couple of clicks.
Ultimately the sky’s the limit! We know intelliflo have ambitious plans for intelliflo office and are fully committed to the concept of open architecture, so as more data becomes available via the API we’ll continue to extend the integration.
What have other users been saying about the integration?
It’s obviously still early days for the integration, but David Drane, a director of Family Finance Centre Group, who was part of the integration beta-testing program and provided valuable feedback and suggestions along the way, sent me the following impromptu message via email the other day.
Hi Ed, I’ve just completed the install for George. His first comment at the integration was “Wow!” and his second comment was “This is going to save a load of time”….
What should you do if you haven’t got a Genovo account yet?
You will need an active Genovo account before you can set up and activate the integration. Don’t worry if you don’t already have a Genovo account, you can sign up for a 30 day free trial of Genovo via the Genovo website by clicking the orange ‘sign up’ button in the top right hand corner of every page. There’s no risk, no obligation and you can cancel at anytime.
You’ll find more information about our plans and pricing as well as our 30 day free trial on our website.
If you’d like us to walk you through the Genovo suitability report app so you can see a bit more before you sign up, you can book your 1-to-1 online demo here.
Finally, we’ve been working on this for a little time now so please do have a look and if you’ve got any comments, suggestions or questions please do get in touch – we’d love to hear from you.


