The Client Declaration page
Kate Wells
 |
IMPORTANT – This user tip relates to an older version of Genovo. Although much of the content and many of the concepts still apply to the current version of Genovo, the screenshots and some instructions may no longer be accurate. |
The Client Declaration page is a section that is automatically included within the Report Builder as standard. If you choose to include it, it will come out as a single page towards the back of your reports. It provides the option for you to sign off the report, and for the client(s) to sign to confirm they have read the report and understand the recommendations contained within it.
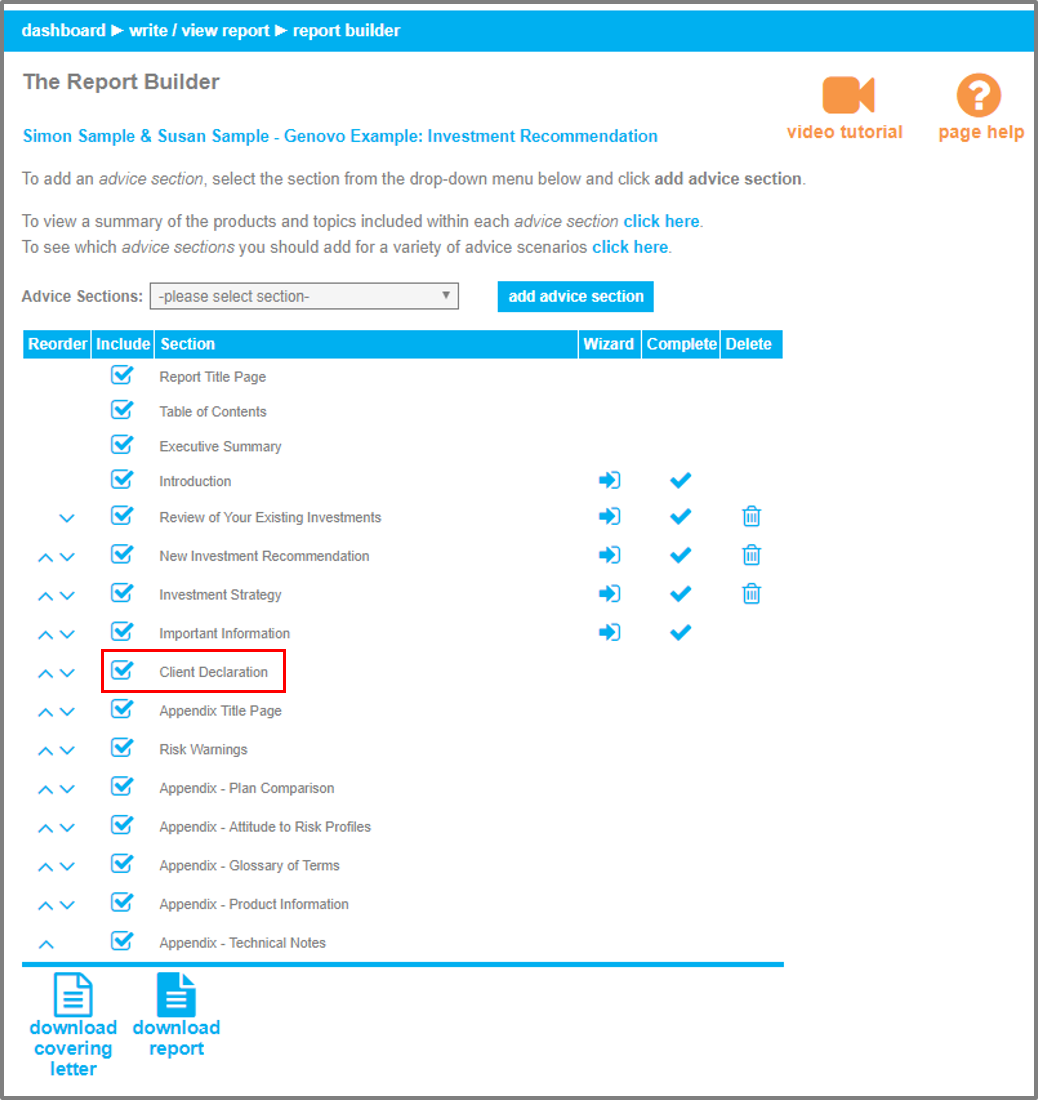
How to move the Client Declaration page
It is worth remembering that you can change where the Client Declaration comes out in your reports by using the reordering arrows in the Report Builder. For example, you may prefer for it to be positioned at the very end of the report (after the appendices) and so you can click on the downwards arrow as shown in the screenshot below to achieve this.

How to add your job title to the Client Declaration Page
Only the adviser’s name comes out within the Client Declaration page as standard. But over the course of the past few months we’ve had a few requests to include the adviser’s job title here as well, so in this month’s blog I’m going to walk you through how you can quickly customise your template to achieve this.
1. From the dashboard click on Customisation>Report Content Manager.
2. Select Covering Letter from the section drop down menu.
3. Click on the edit snippet icon of the Covering Letter (Suitability Report) snippet as shown in the screenshot below.

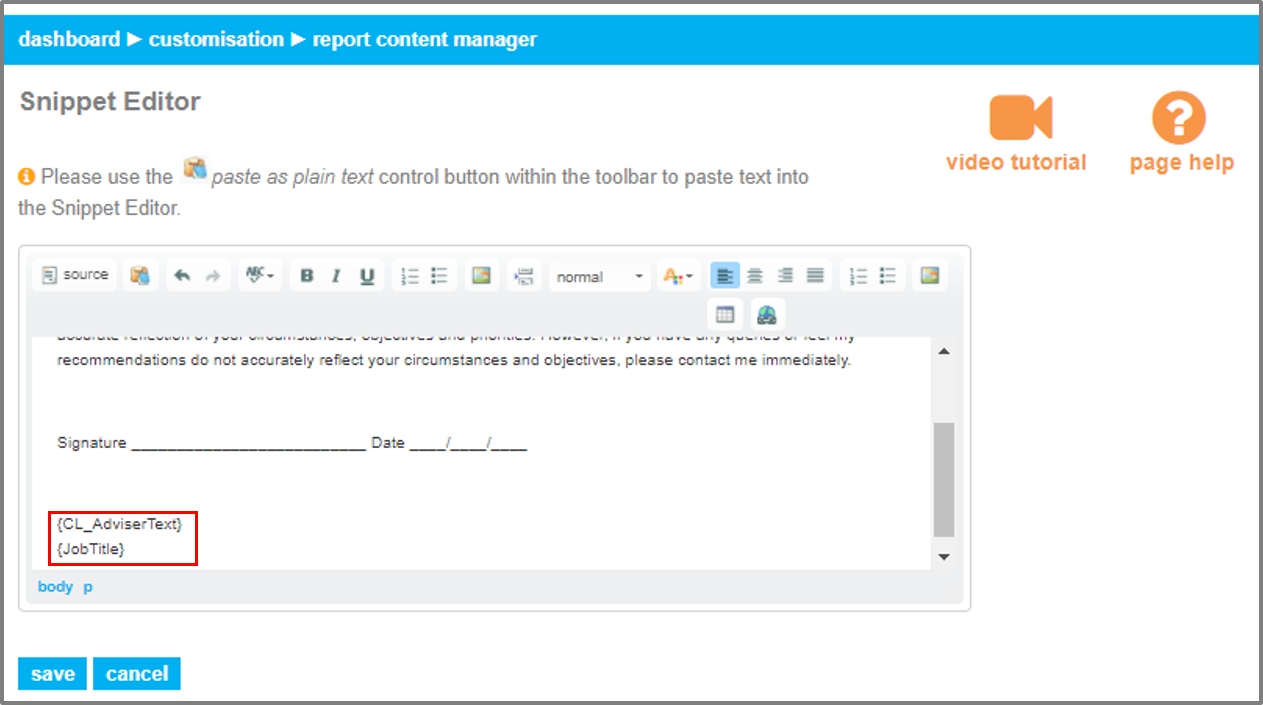
4. Copy the 2 tags as shown highlighted red in the screenshot below.

5. Click on back to: report content manager.
6. Select Client Declaration from the section drop down menu.
7. Click on the edit snippet icon of the Client Declaration – Title & Adviser Signoff snippet.
8. Click create custom snippet and you will be directed to the Snippet Editor.
9. Delete the tag: {CD_Adviser_Text} from the bottom on this snippet, and paste in the 2x tags you copied from the previous snippet (remembering of course to use the paste as plain text function button of the Snippet Editor.)
10. Apply any formatting e.g bold
11. Click save.
As a result, every time you download a report to Word the adviser’s name and job title will be automatically inserted in the Client Declaration page of the report.
Further Reading
You’ll find loads more information about how to customise your reports in our Knowledge Base or by clicking on the links below.
How do I customise the title of my suitability report title page
What is the best way to paste text into the Snippet Editor
Make sure you don’t miss any of our hints & tips – subscribe and get email alerts when we update our blog.
Written by Kate Wells
Kate loves to help people, and has made it her mission to ensure that all of our customers have the best possible experience whilst using Genovo. She is a perfectionist, in part driven by her passion for sport. She is a keen cyclist and long distance runner, and was a member of the Team GB 2012 Olympic swimming squad. Kate is never afraid of a new adventure. In 2012 she made it through to the last 17 of The Apprentice, and although Kate is still slightly disappointed she narrowly missed out on the TV rounds at the last hurdle, we certainly believe that Sir Alan’s loss has been our gain!
Share this post
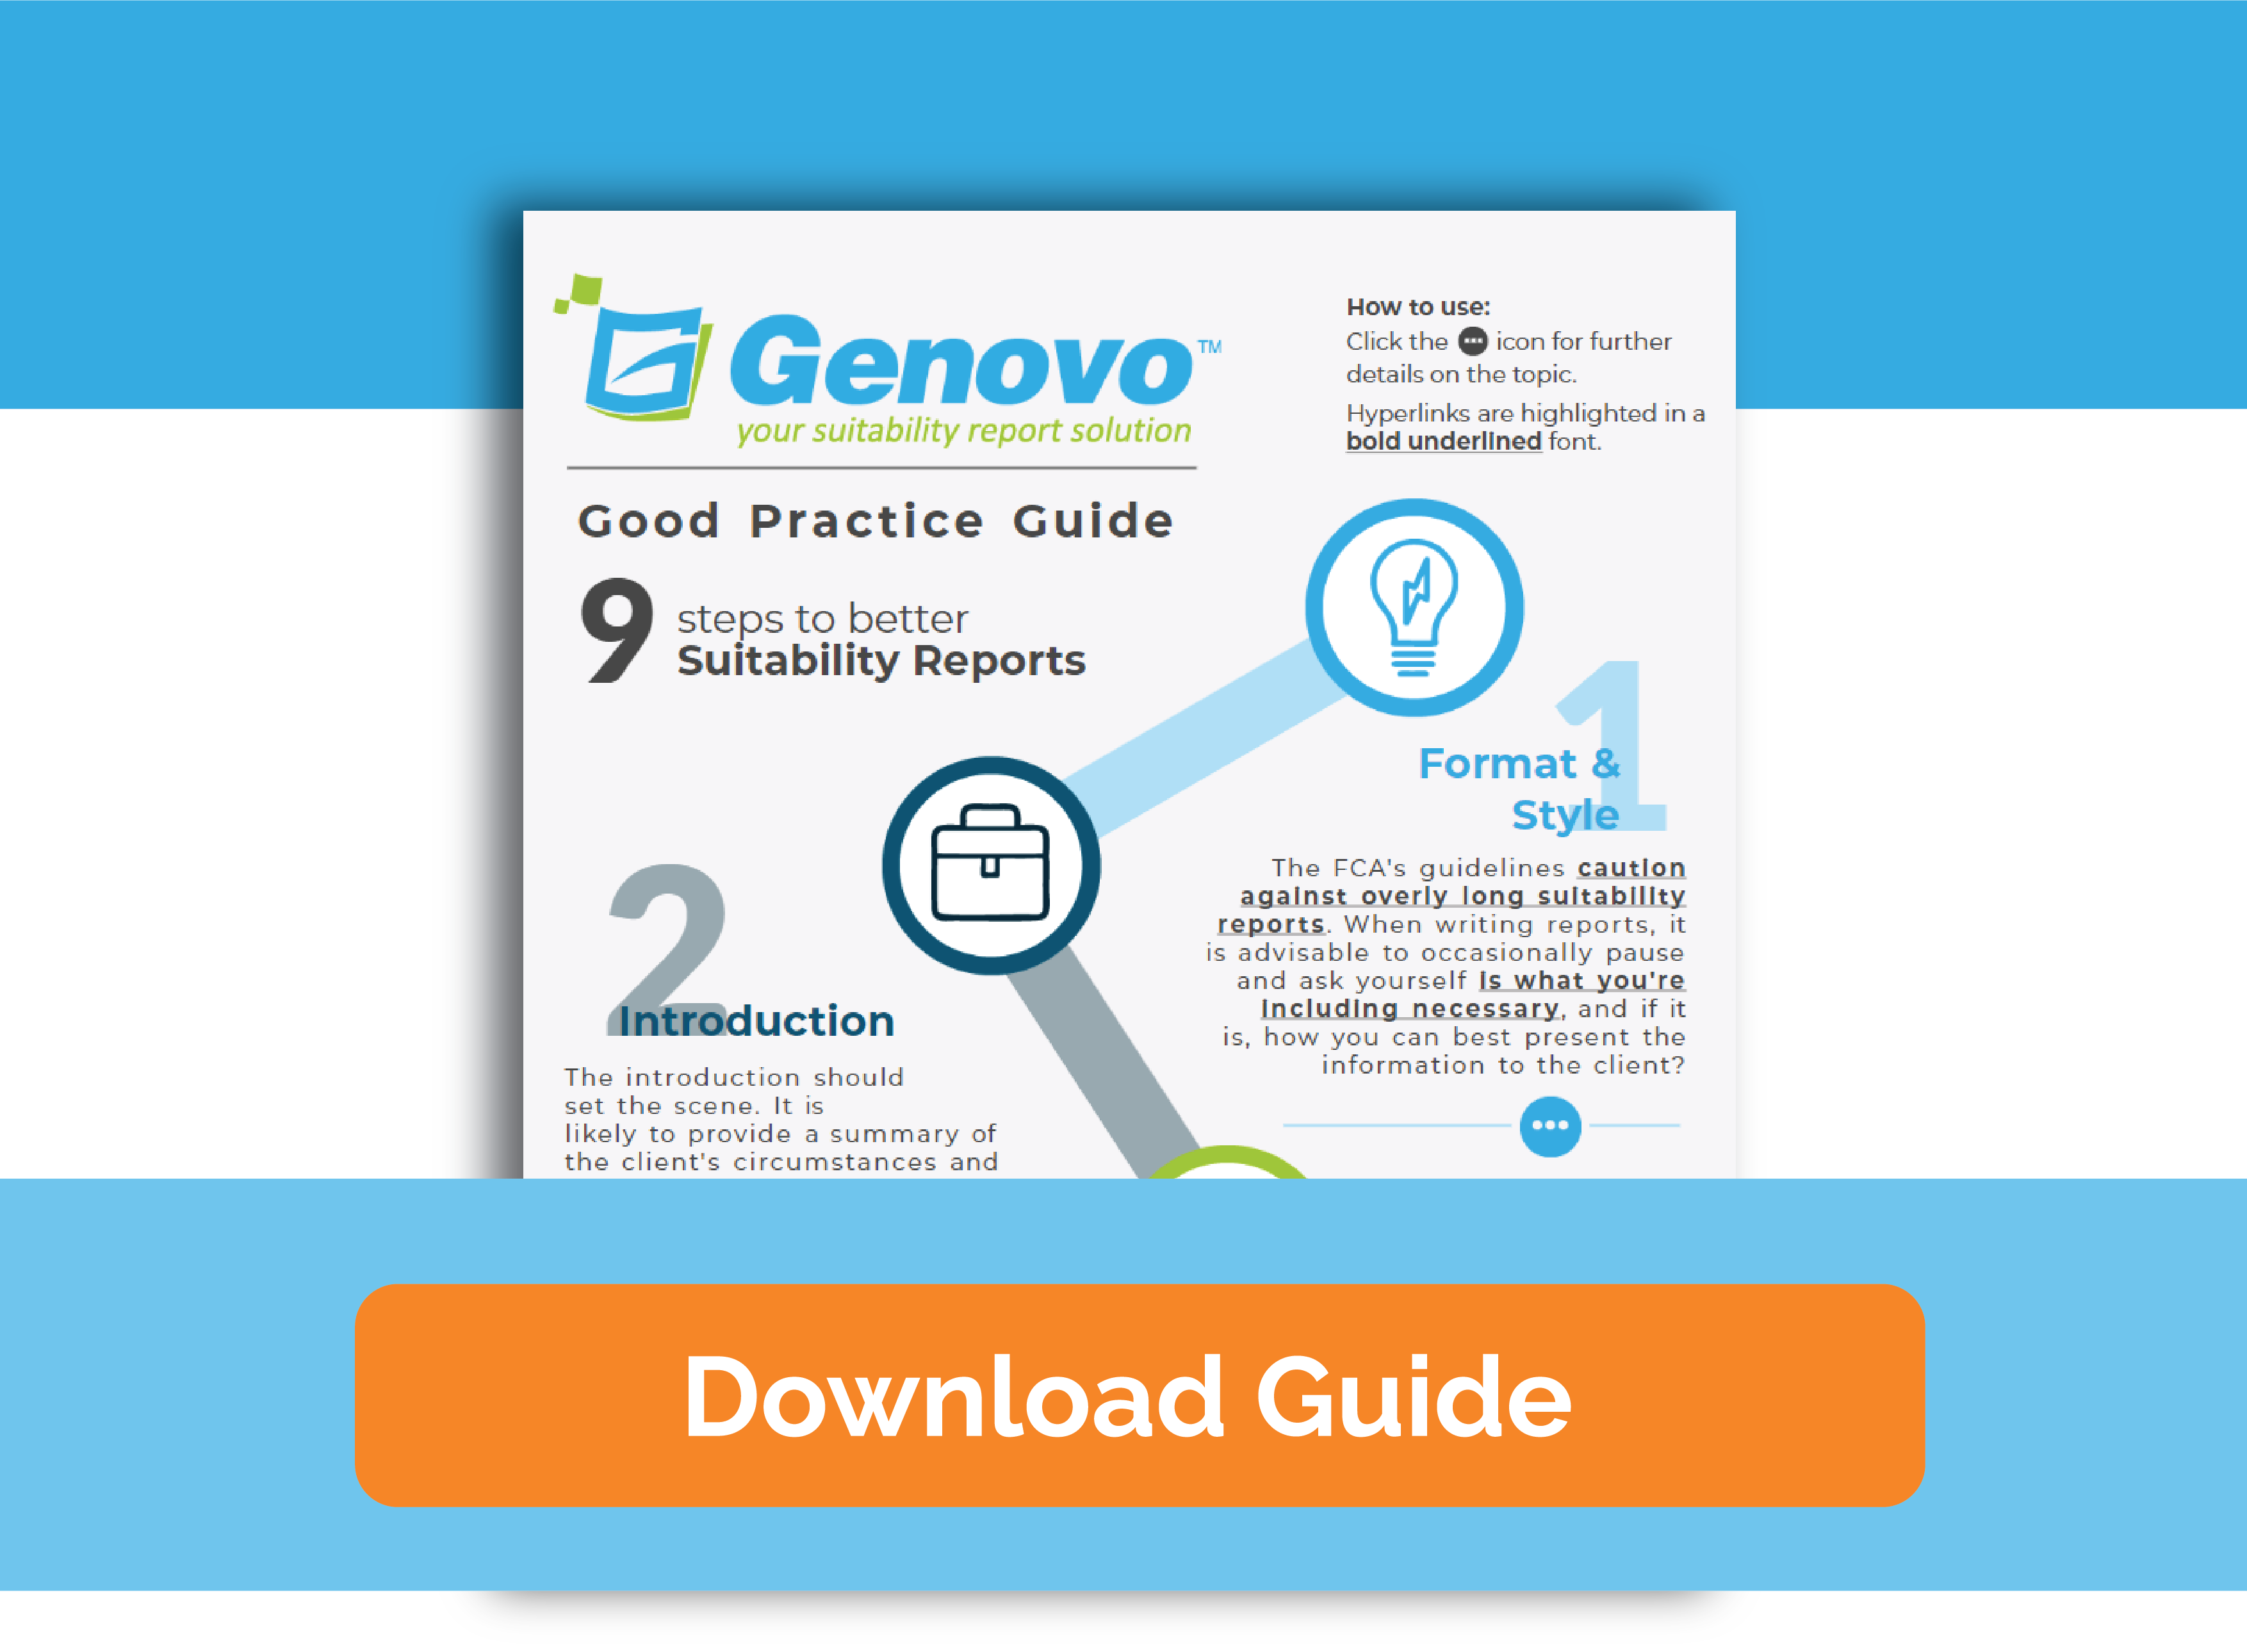
Free suitability report template
Learn how to make your reports more reader-friendly and engaging.
Suitability report best practice guide
Download the interactive guide and follow our 9 steps to better suitability reports.