How to set up your account so the advisers’ headshot and signature image is automatically inserted in their clients’ reports
Kate Wells
 |
IMPORTANT – This user tip relates to an older version of Genovo. Although much of the content and many of the concepts still apply to the current version of Genovo, the screenshots and some instructions may no longer be accurate. |
I am conscious that this blog does seem rather trivial given what’s going on in the world at the moment, and I just wanted to start off by saying that on behalf of the Genovo team we hope that you and your families keep safe and healthy during these uncertain times.
However, we are trying to ensure that everything continues to run as normal as possible at Genovo, and that includes continuing to write our monthly user tip blog, and so back to more mundane matters….
Recently we repackaged our plans to more closely reflect:
- the make-up of the typical financial planning company; and
- how Genovo has been designed to be used.
And hence every Genovo plan now comes with Writer and Reader users included as standard, in a ratio of 1 Writer to 2 Readers to reflect the fact one paraplanner will typically support 2 advisers within their firm.
If you’re still a bit unsure as to exactly what the difference is between a Writer and a Reader user, and the benefits of having both on your account, then hopefully this article from our Knowledge Base will make it clearer.
One of the key benefits of having your account set up correctly with Writer and Reader users is that the relevant adviser’s head-shot and signature image will always be automatically inserted into each report created for that adviser irrespective of which user within your account has created it for them.
How to add a headshot and signature image
There are 2 ways a head-shot and / or signature image can be uploaded for a user.
1) By the user
If the user is a Writer User, they can log in to their own account and add a head-shot and signature image to their own account via Account Admin > Your Details.
2) By an Account Admin for other account users
Account Owners and Account Admins can add a head-shot and signature image for their account’s users, whether this be a Writer User or Reader User, via Account Admin > Manage Users. In the screenshot below I’ve uploaded a head-shot and signature image for Charlie Adviser who’s been added to my account as a Reader User.

Writing a report
So having uploaded the head-shot and signature image, let’s now have a look at how this could work when it comes to actually writing a report….
So let’s say I, Kate Paraplanner (who’s been added to my company’s account as a Writer User) needs to write a report to Simon and Susan Sample for Charlie Adviser (who’s been added to the account as a Reader User).
Assuming share clients / reports has been activated for my account, a user drop down will be included in Write / View Reports that allows me to search for clients across all the users on my account.
So in this instance I’d select Charlie Adviser from the user drop down, search for Simon and Susan Sample using the Client last Name search….

….and then add them into the Selected Clients List from Charlie Adviser’s Client Library.

I can then click the Write Report button and create my report in the usual way.
The Report
In terms of the report output Charlie Adviser’s headshot image will now automatically come out on the Report Title Page within the {PreparedBy} tag.

And his signature image will come out within the {AdviserSignature} tag in the Covering letter as well the Adviser / Client Declaration and the Authority to Proceed sections, much like the example below.

So, if you’re one of those users who has all of their adviser’s signatures saved on your Report Title Page ready to delete when not appropriate, now is the time to get your account set up correctly as it will save even more time during your working day. And as always if you’re not sure how to do it or have any questions, get in touch, and I’ll be happy to help.
Further Reading
You’ll find lots of useful information about how to customise your reports in our Knowledge Base or by clicking on the links below.
What are the {example_tags} tags in the snippets?
How to use dynamic tags to further customise your Genovo reports
Set up your account in less than 15 minutes
Make sure you don’t miss any of our hints & tips – subscribe and get email alerts when we update our blog.
Written by Kate Wells
Kate loves to help people, and has made it her mission to ensure that all of our customers have the best possible experience whilst using Genovo. She is a perfectionist, in part driven by her passion for sport. She is a keen cyclist and long distance runner, and was a member of the Team GB 2012 Olympic swimming squad. Kate is never afraid of a new adventure. In 2012 she made it through to the last 17 of The Apprentice, and although Kate is still slightly disappointed she narrowly missed out on the TV rounds at the last hurdle, we certainly believe that Sir Alan’s loss has been our gain!
Share this post
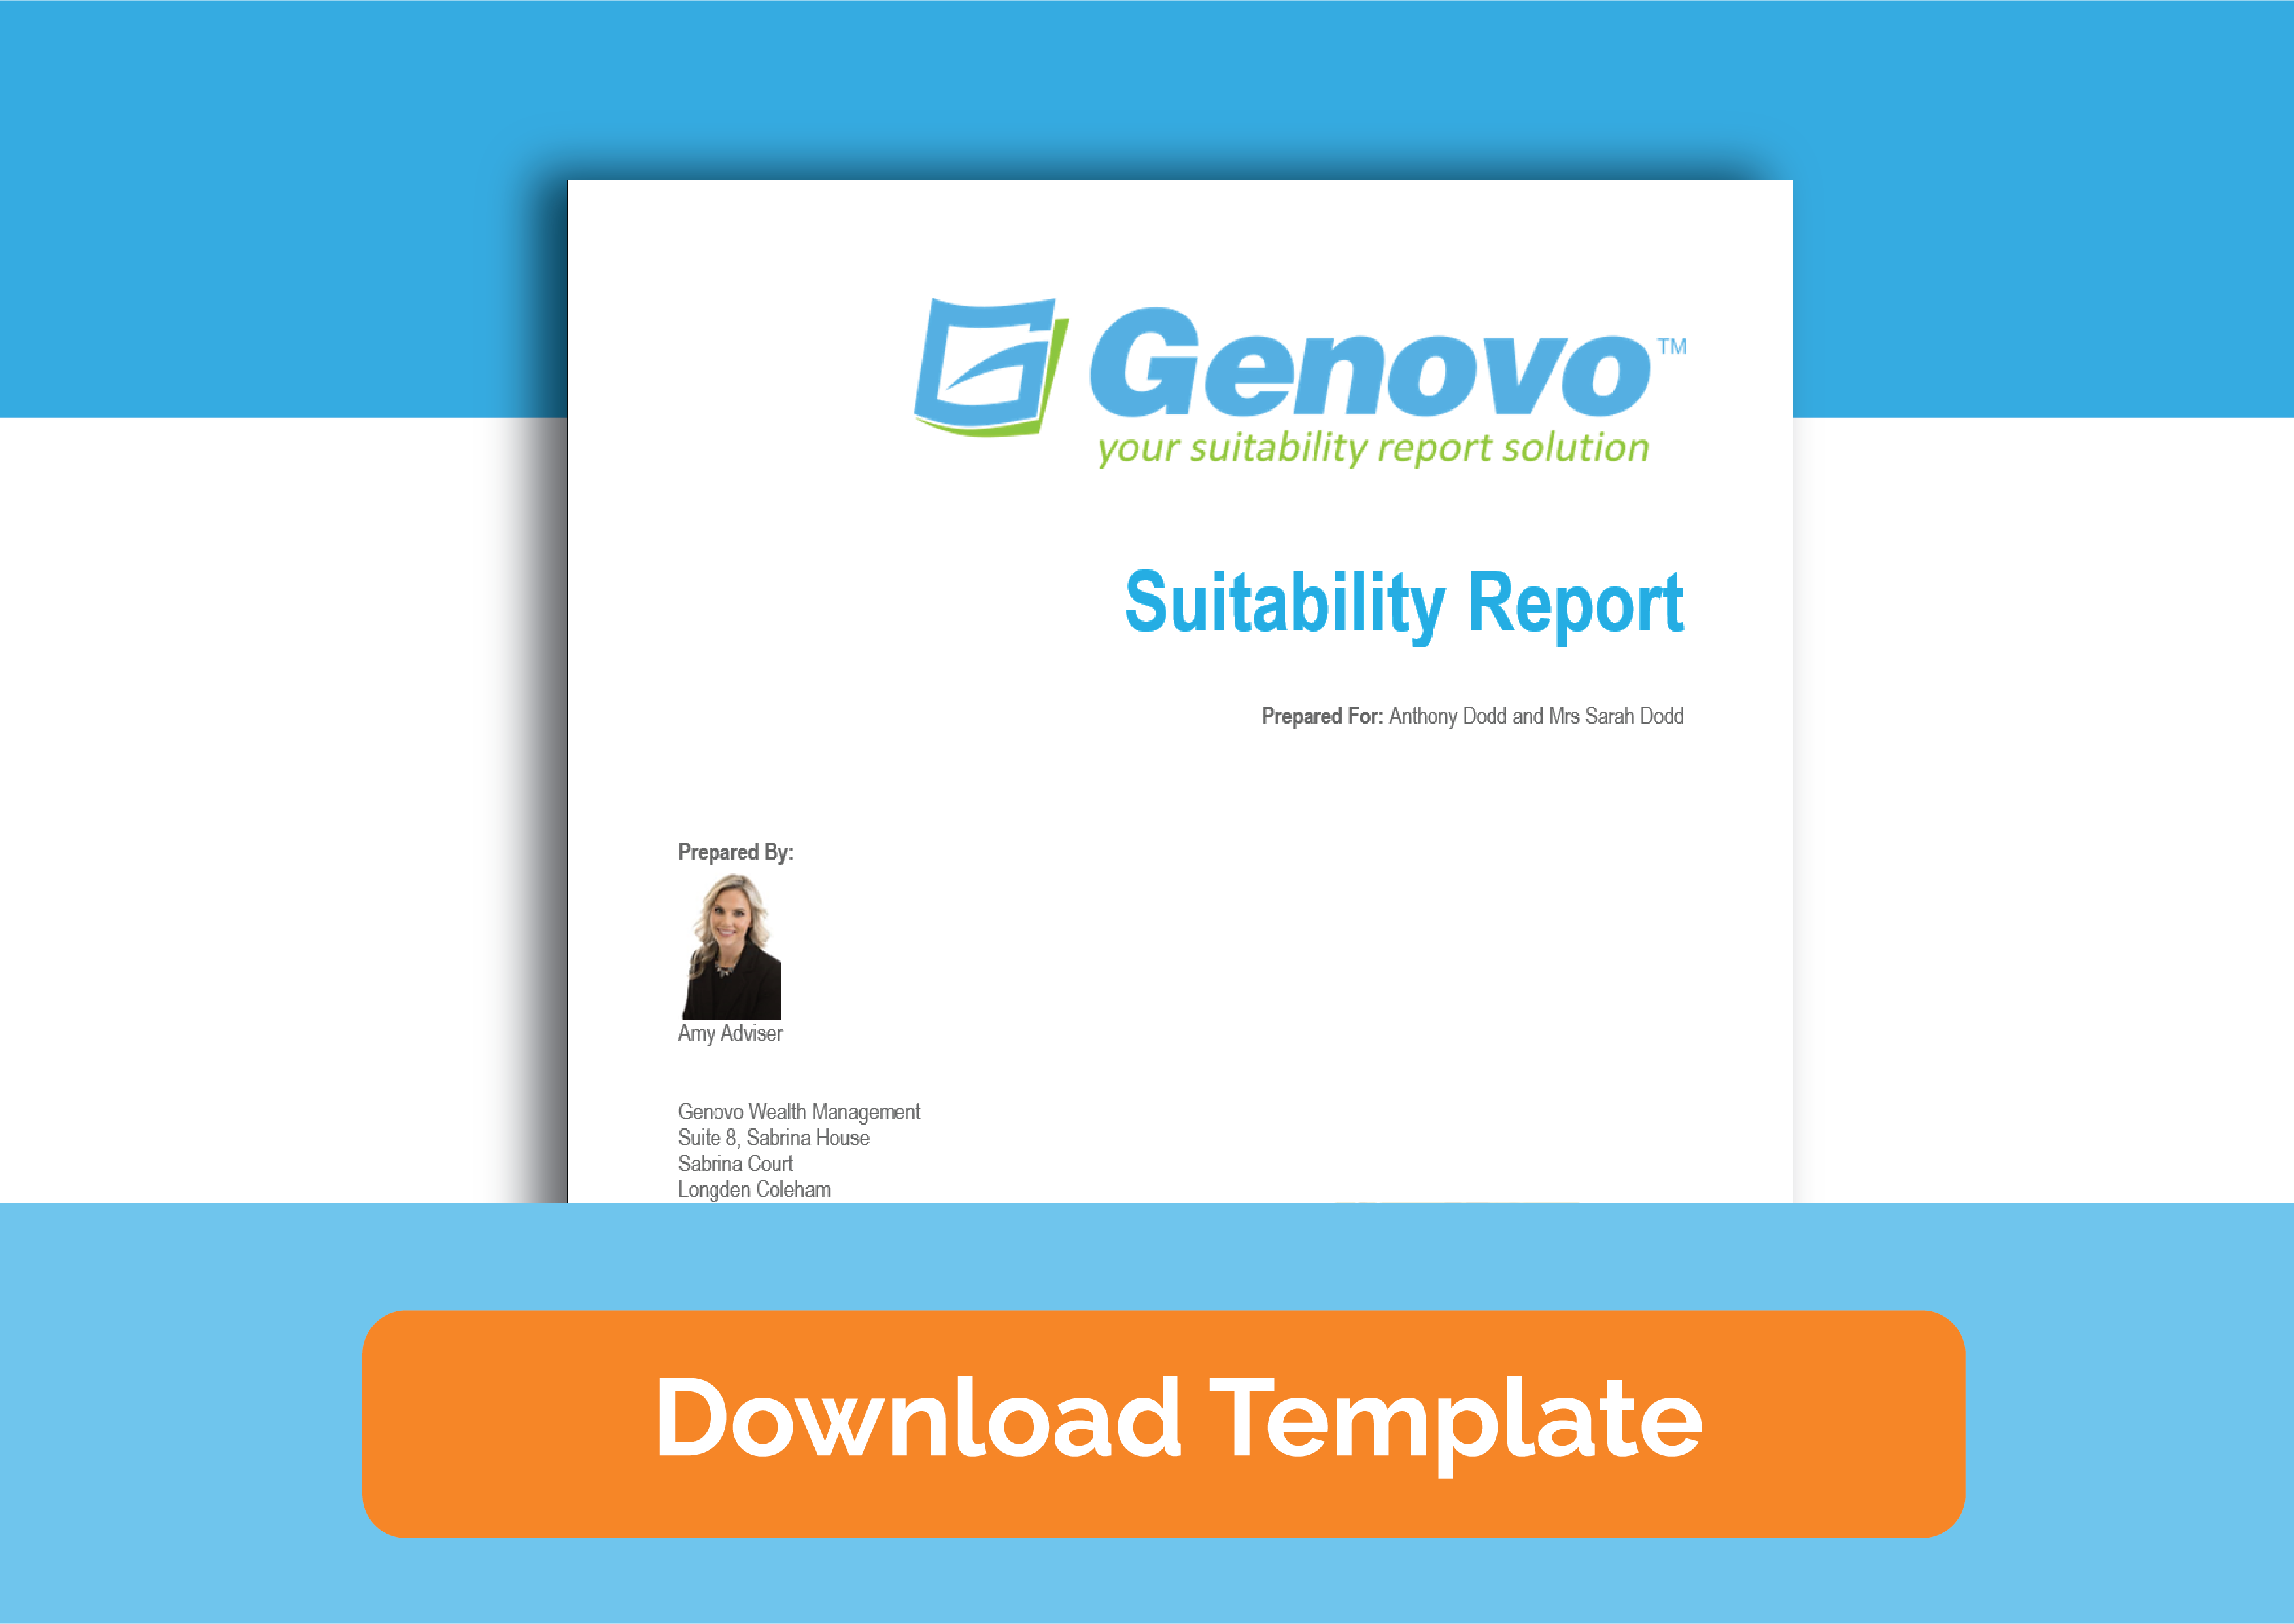
Free suitability report template
Learn how to make your reports more reader-friendly and engaging.
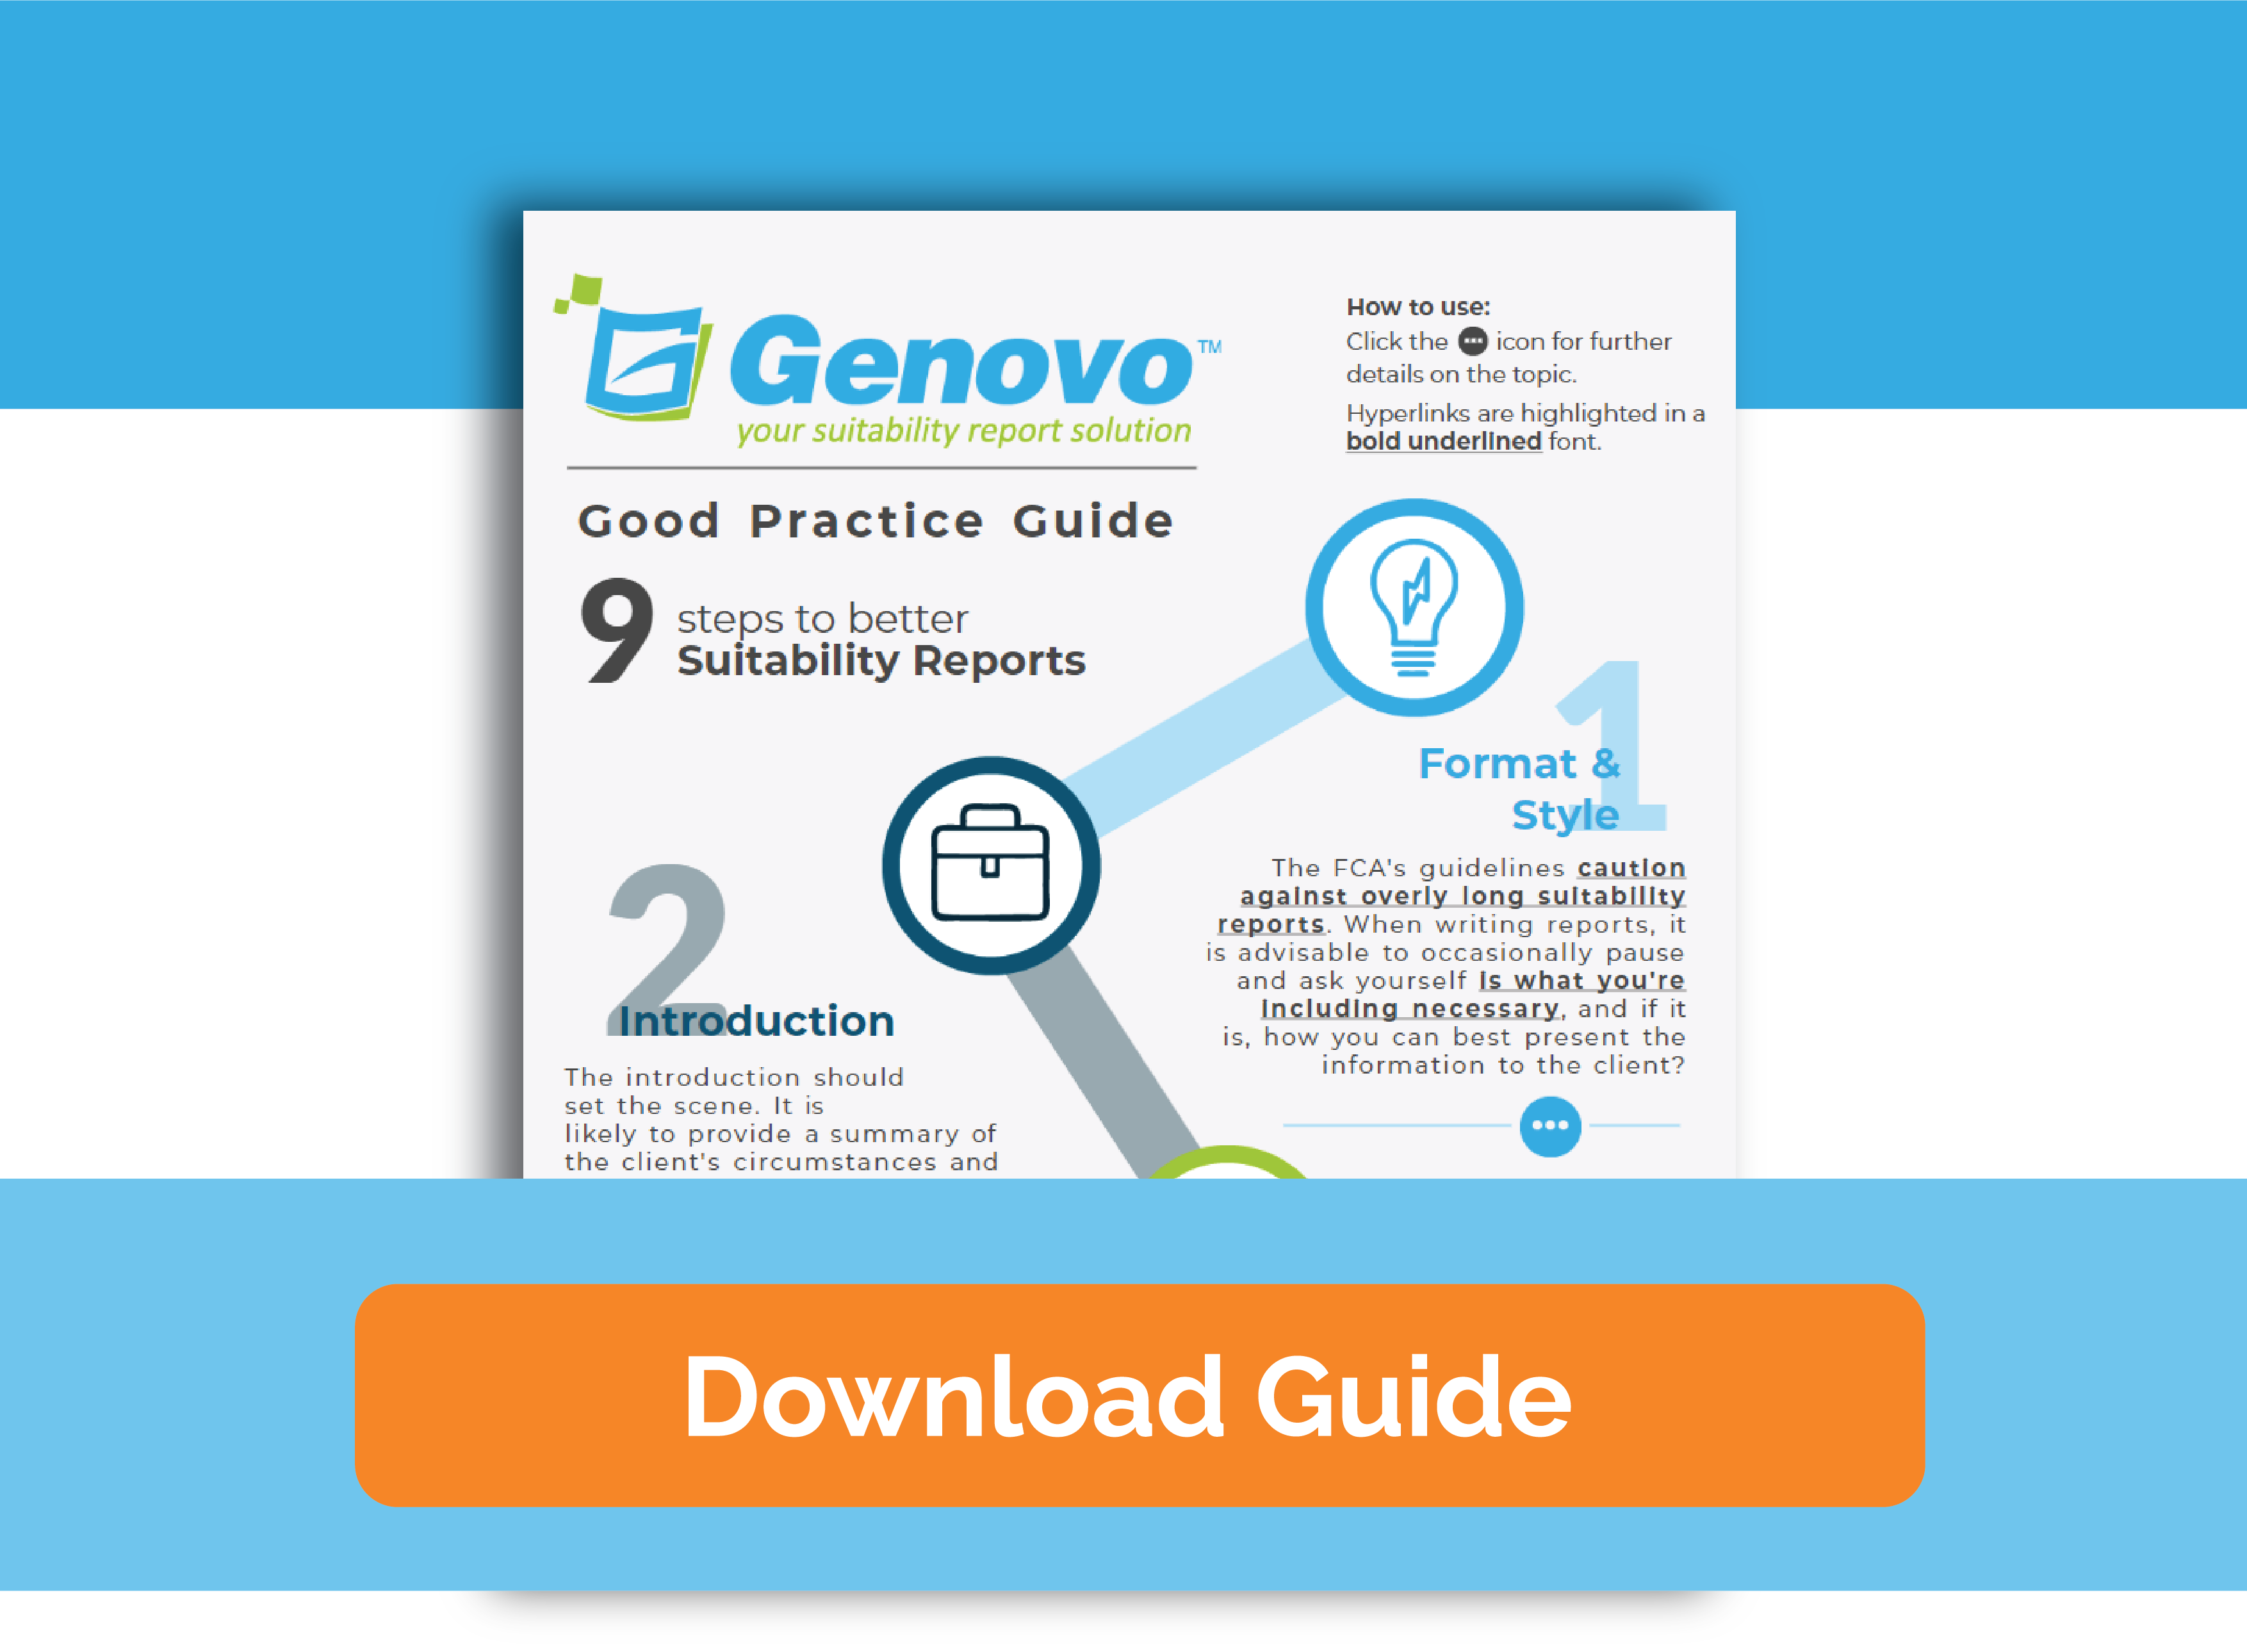
Suitability report best practice guide
Download the interactive guide and follow our 9 steps to better suitability reports.