How to add a second image to your suitability report title page
Kate Wells
 |
IMPORTANT – This user tip relates to an older version of Genovo. Although much of the content and many of the concepts still apply to the current version of Genovo, the screenshots and some instructions may no longer be accurate. |
Did you get a chance to read my last blog about how to include / remove the Report Reference from the Report Title Page?
Well, don’t worry if not, as this month I’ll be looking at how you can add another image (in addition to your company logo) to the front cover of your suitability reports which will definitely help spice up the look of your reports!
Last month, Richard Lent, our Technical Product Specialist wrote a blog on How Genovo can help you meet some of the requirements of the Pension Transfer Gold Standard.
So following on from this blog, I thought I’d show you how you could add the Pension Transfer Gold Standard (PTGS) badge (or any other image or logo for that matter) to the front cover of your suitability reports.
So let’s begin…
Report Title Page
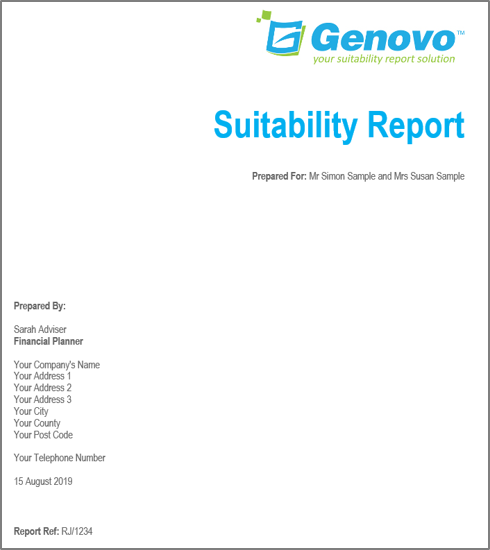
As you all know, below is our standard report title page, the content of which you can customise via the report content manager.
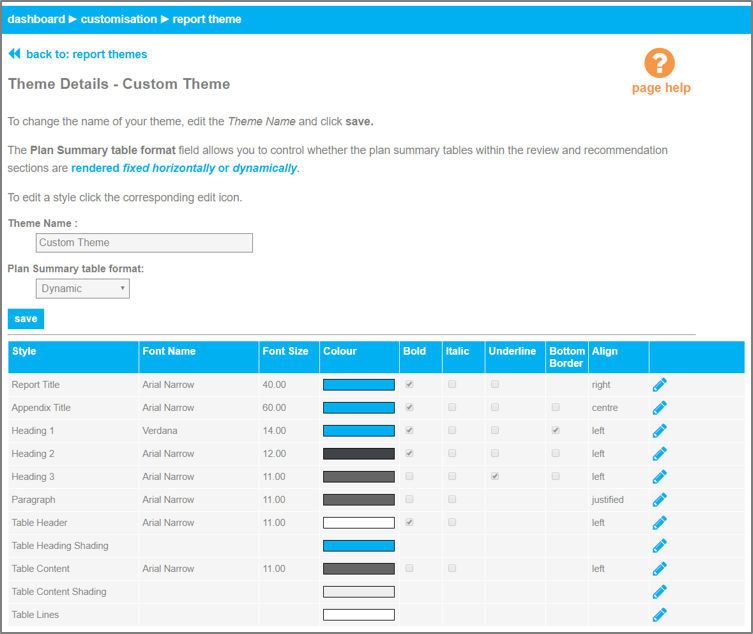
If you just want to change the colours, fonts and styles then you can do this via the report theme.
Your company logo will automatically come out in the top right hand corner of your report title page assuming you’ve uploaded it via customisation > upload logo .
Simple. But what if you want to add an additional image or logo to the front cover of your reports?
Follow these 10 step-by-step instructions and all will be revealed.
How to add the PTGS badge to your Report Title Page
Just to note, this example uses the PTGS badge as referred to in Richard’s blog, but you can adapt these instructions to any image you may wish to add.
- From your dashboard go to customisation > report content manager.
- Select the Report Type as the suitability report from the first dropdown menu and select the report title page section from the second dropdown.
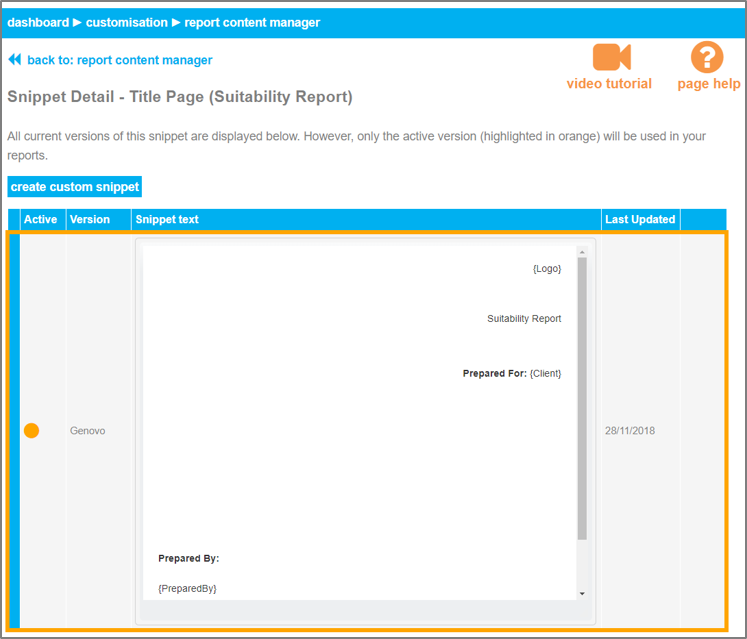
- Click the corresponding edit icon for the snippet entitled title page (suitability report).
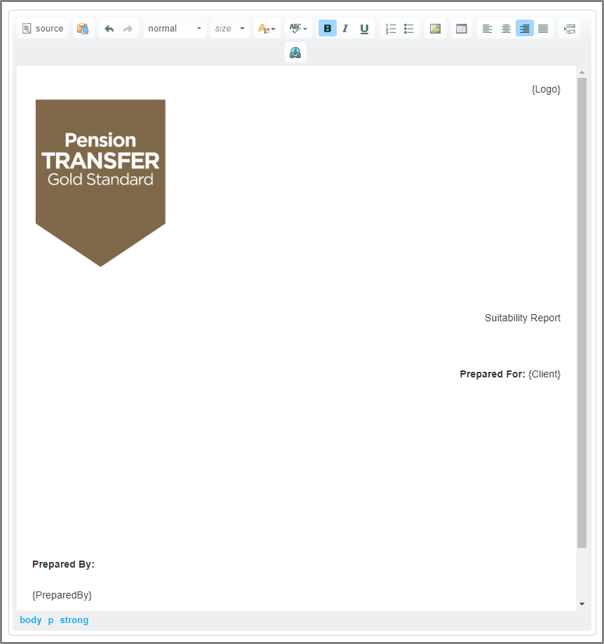
You’ll then be directed to the snippet detail page as shown below:
Moving on…
- Click create custom snippet. This will create a clone of the Genovo snippet, and direct you to the snippet editor where you can now customise the content of the report title page.
- Position your cursor within the text box of the Genovo HTML Editor where you would like the image to come out.
- Use Ctrl+V to paste the image directly into the Genovo HTML Editor as you would if you were pasting an image into Word.
- To resize the image right click your mouse on the image which will in turn open a drop down menu where you can select image properties.
- Clicking Image Properties will open the Image Properties dialog box and it’s here that you can adjust the width and height of the image to reflect your requirements – just remember to keep the aspect ratio (padlock) locked.
- Once you’ve made your edits, click save.
You’ll be taken back to the snippet detail page and your custom version will be automatically selected as active.
And here is the result once the report is downloaded to Word…
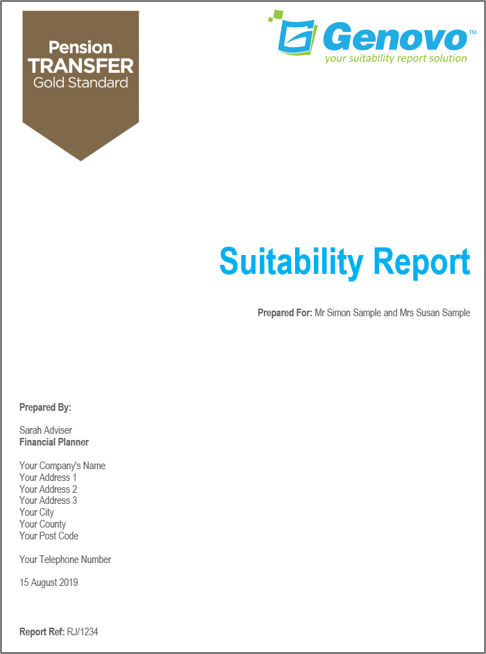
Remember that you’ll need to change the report title page for each report type but if you get a fancy front cover at the end it’s worth it, right?
I know it’s hard to grab a few spare minutes but when you next get chance, use these steps to add valuable creative flare to your reports. Any problems give me a shout and I’ll be happy to help.
Further Reading
You’ll find lots of useful information about how to customise your reports in our Knowledge Base but this month I’ve included a number of previous user tips which you may find useful.
How to make your reports stand out from the crowd by adding a favicon
How to use dynamic tags to further customise your Genovo reports
Make sure you don’t miss any of our hints & tips – subscribe and get email alerts when we update our blog.
Written by Kate Wells
Kate loves to help people, and has made it her mission to ensure that all of our customers have the best possible experience whilst using Genovo. She is a perfectionist, in part driven by her passion for sport. She is a keen cyclist and long distance runner, and was a member of the Team GB 2012 Olympic swimming squad. Kate is never afraid of a new adventure. In 2012 she made it through to the last 17 of The Apprentice, and although Kate is still slightly disappointed she narrowly missed out on the TV rounds at the last hurdle, we certainly believe that Sir Alan’s loss has been our gain!
Share this post
Free suitability report template
Learn how to make your reports more reader-friendly and engaging.
Suitability report best practice guide
Download the interactive guide and follow our 9 steps to better suitability reports.